An ‘OAuth Authentication’ is added under the ‘Additional Settings’ tab within the ‘Generate RD Service’ option to provide an additional security layer for all the generated API calls. This enhancement can be used with all scenario types, Query Chains, and Jobs.
To learn more, let us walk through the below procedure:
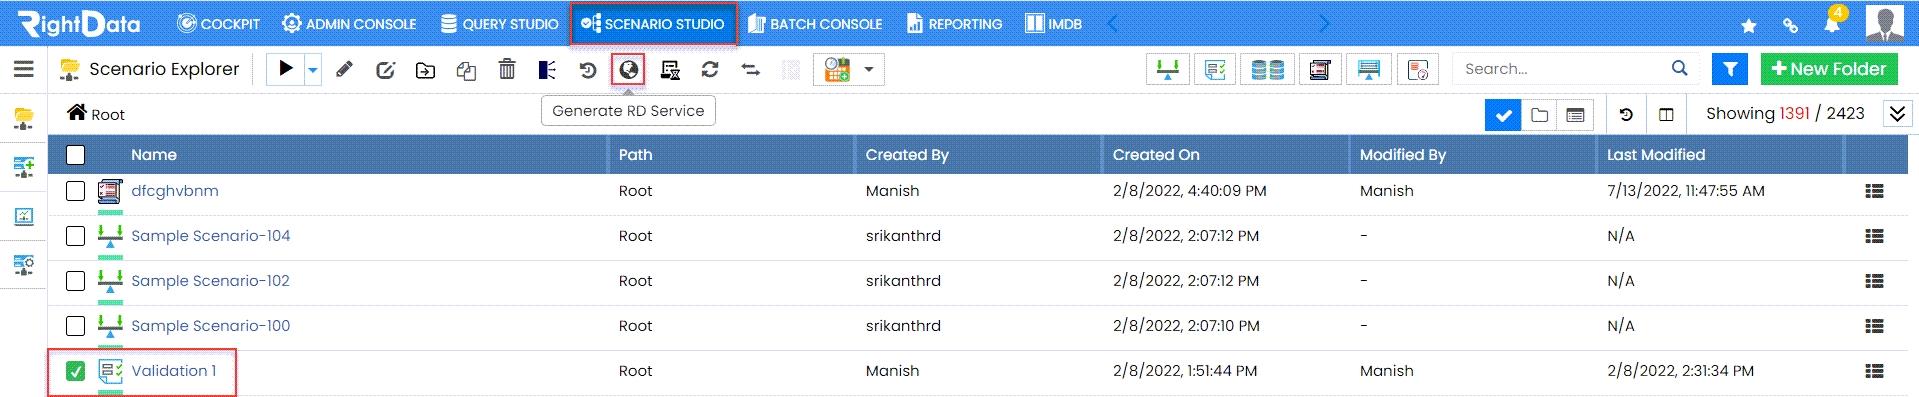
- Let’s click the ‘SCENARIO STUDIO’ module.
- The user is navigated to the ‘Scenario Explorer’ session page.
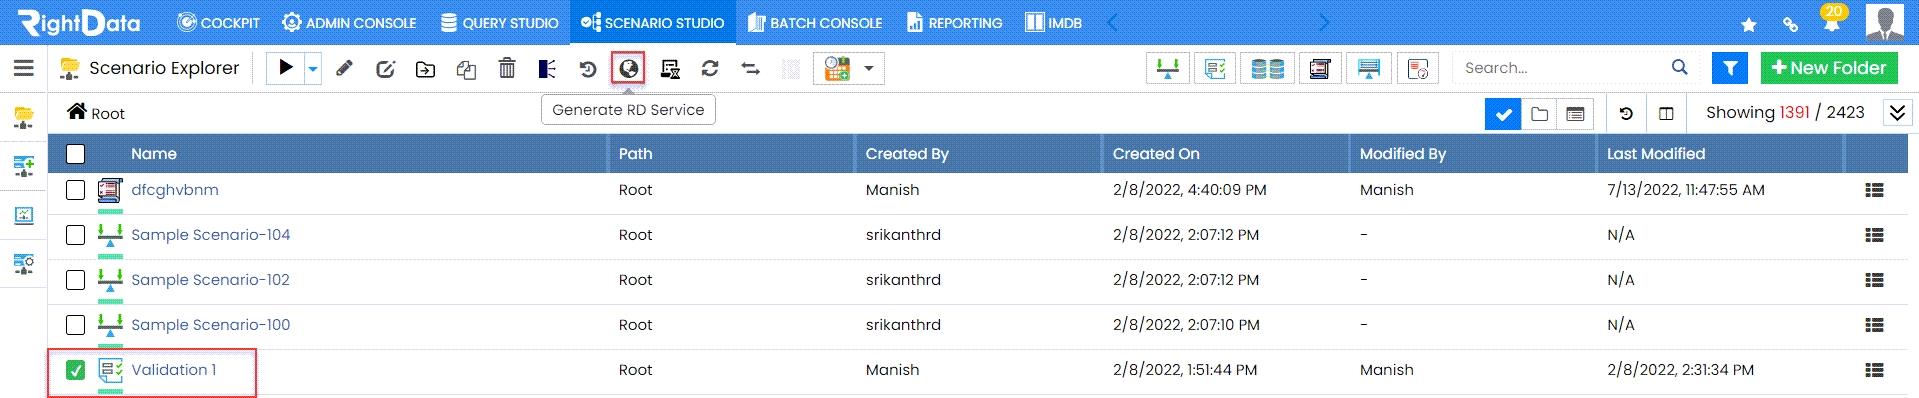
- Let’s select and checkbox a ‘Validation’ scenario (Validation1).
- Click the ‘Generate RD Service’ button
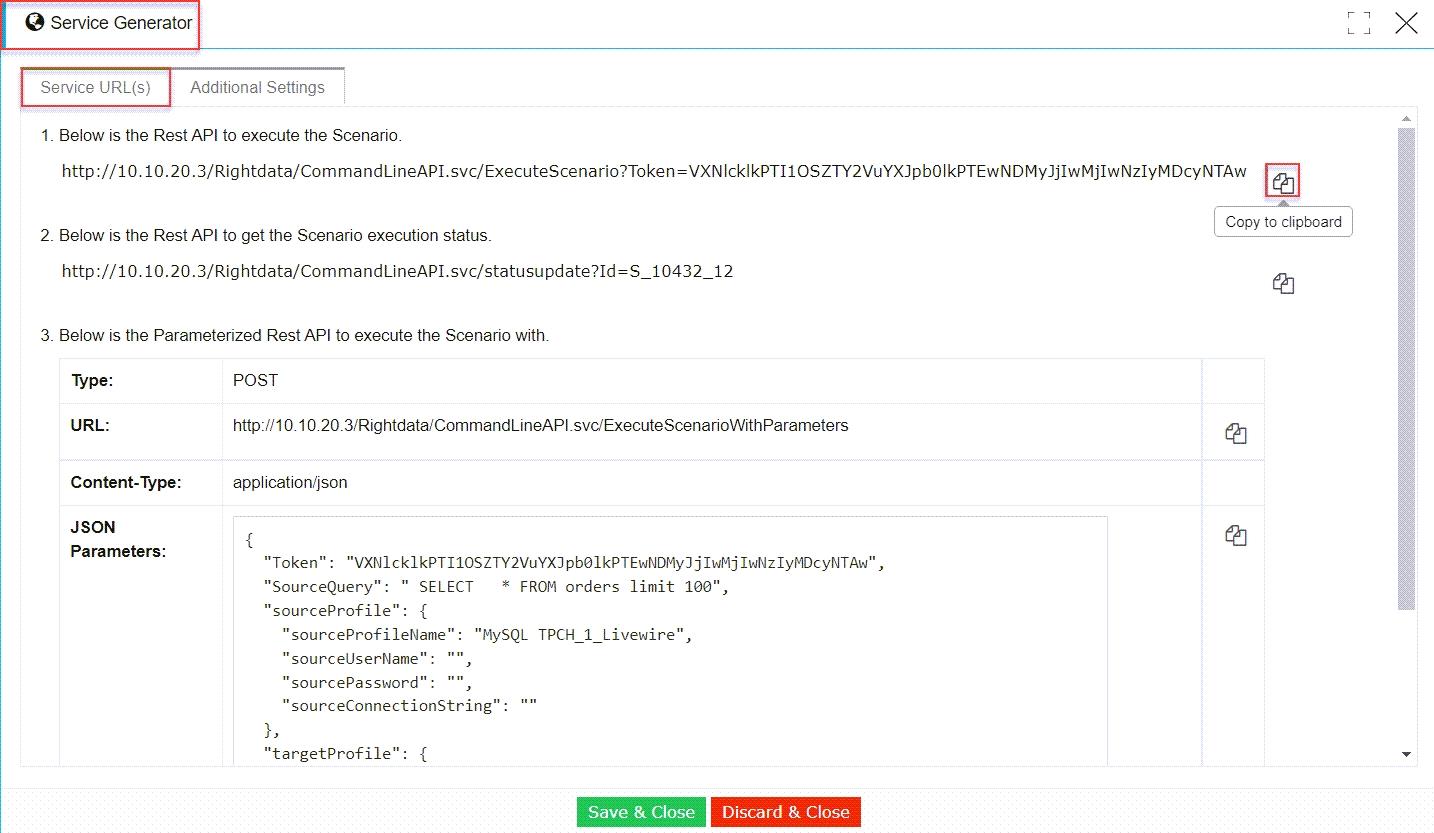
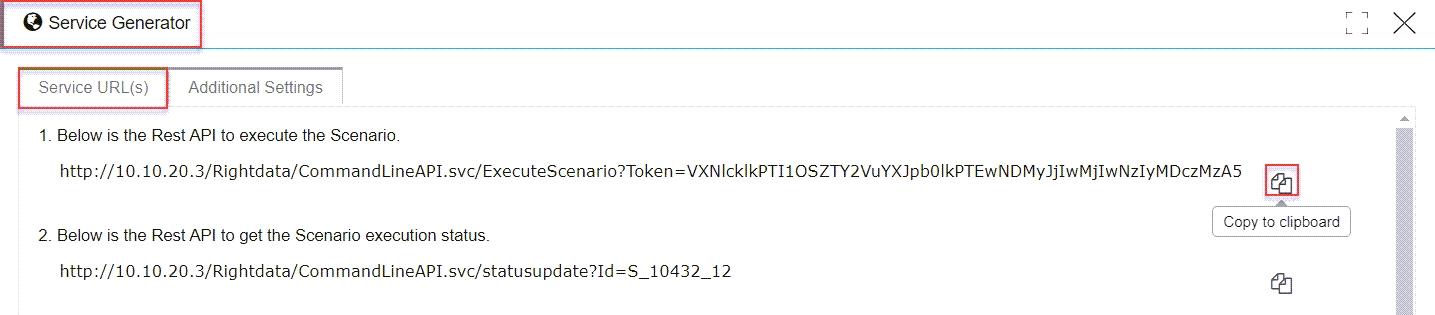
- A ‘Service Generator’ pop-up window is displayed.
Note: By default, ‘Service URL(s)’ tab is selected.
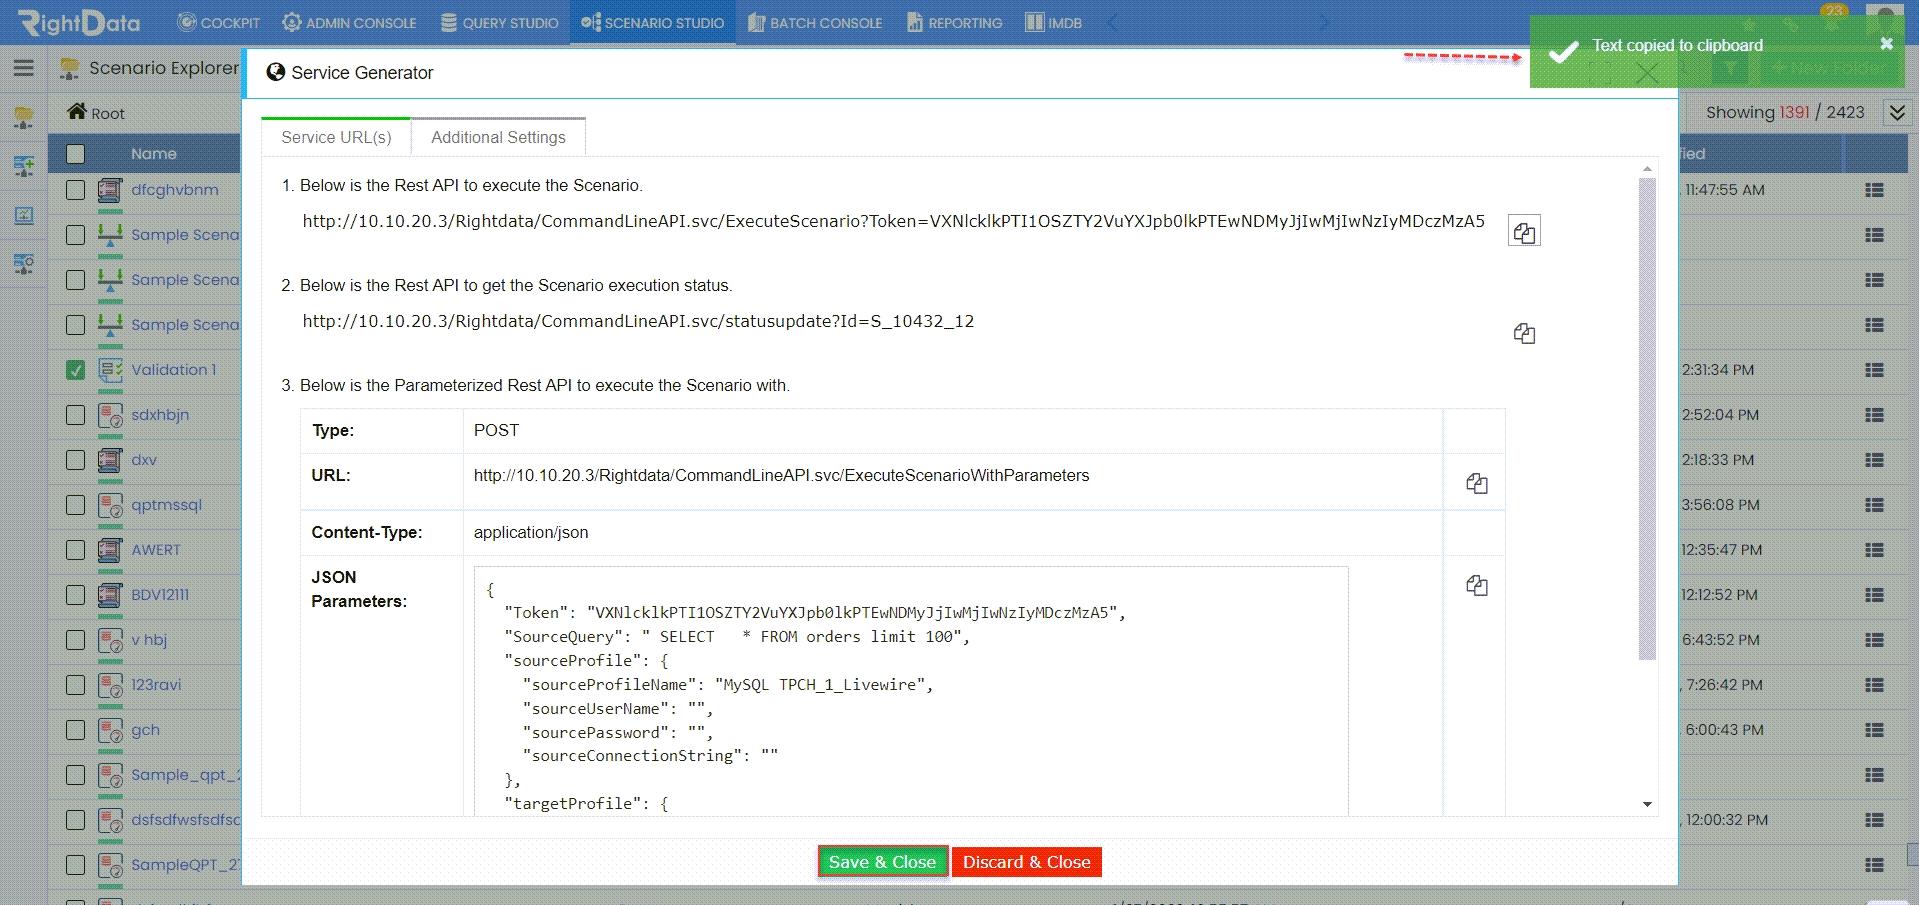
- Let’s click the ‘Copy to clipboard’ button to copy the ‘Rest API’ of the selected Validation scenario.
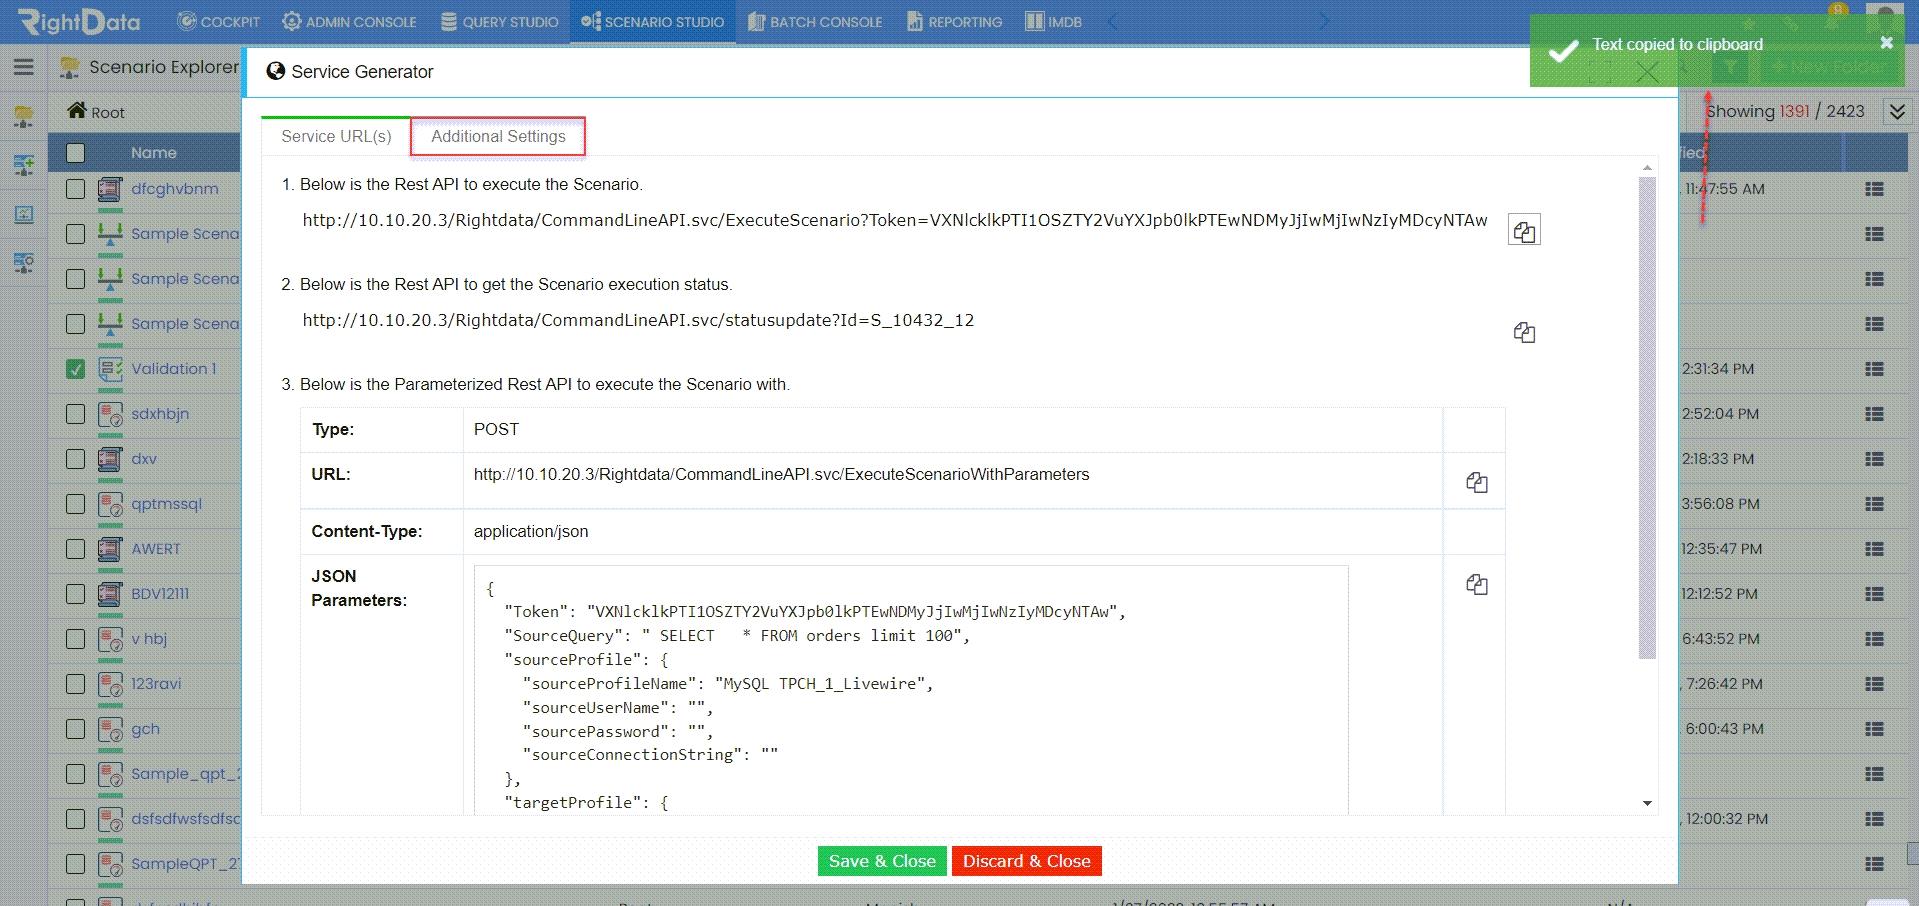
- A toaster message ‘Text copied to clipboard’ is displayed.
- Now, click the ‘Additional Settings’ tab.
- Never Expires and Expiry Date radio button options are displayed.
Note: By default, ‘Never Expires’ radio button option is selected.
- Apart from the above two radio button options, an additional ‘OAuth Authentication’ option is displayed.
- Let’s select and checkbox the ‘OAuth Authentication’ option.
- Click the ‘Save & Close’ button.
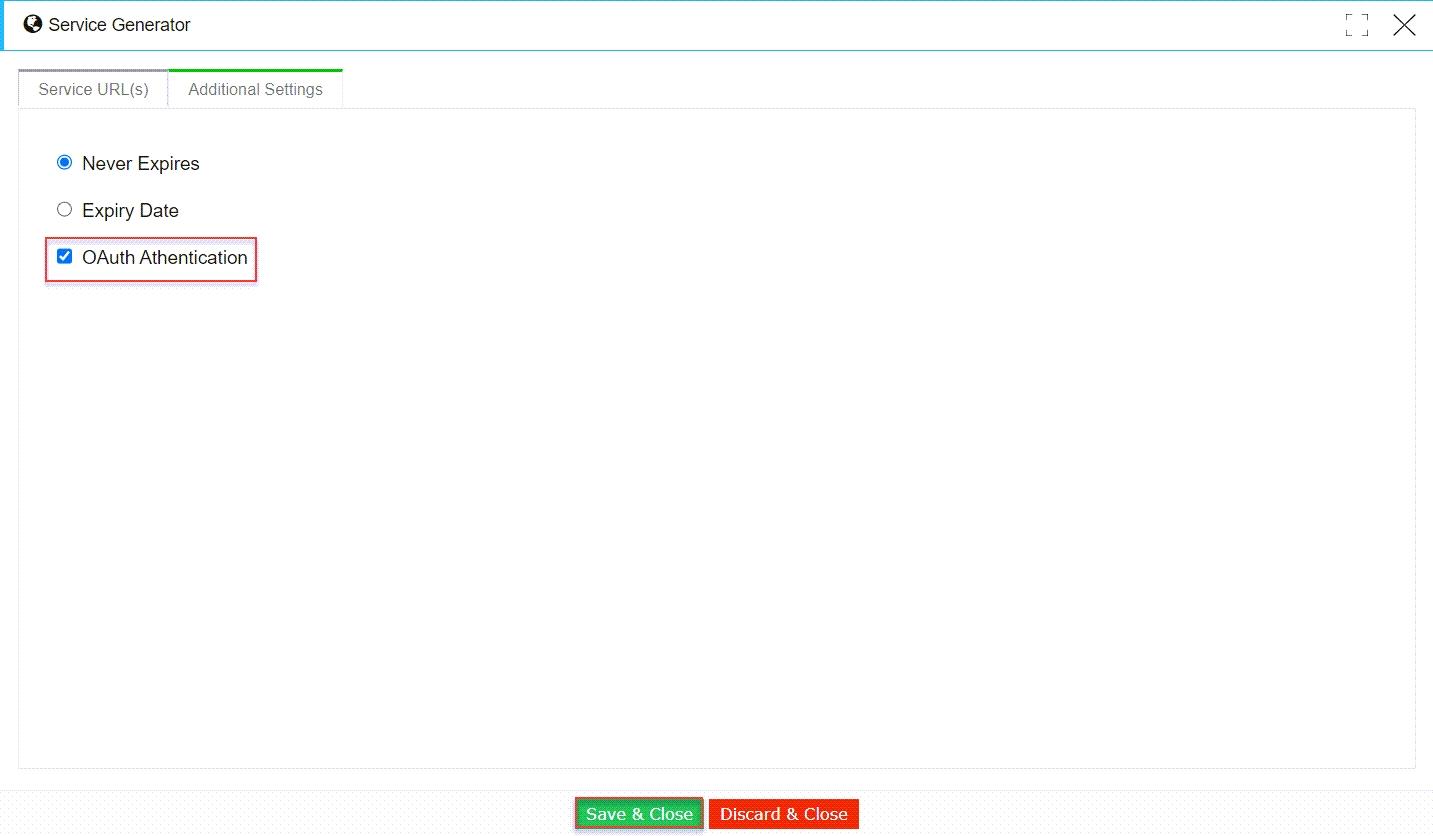
- A toaster message ‘Token Saved successfully’ is displayed.
- The user is navigated to the ‘Scenario Explorer’ session page.
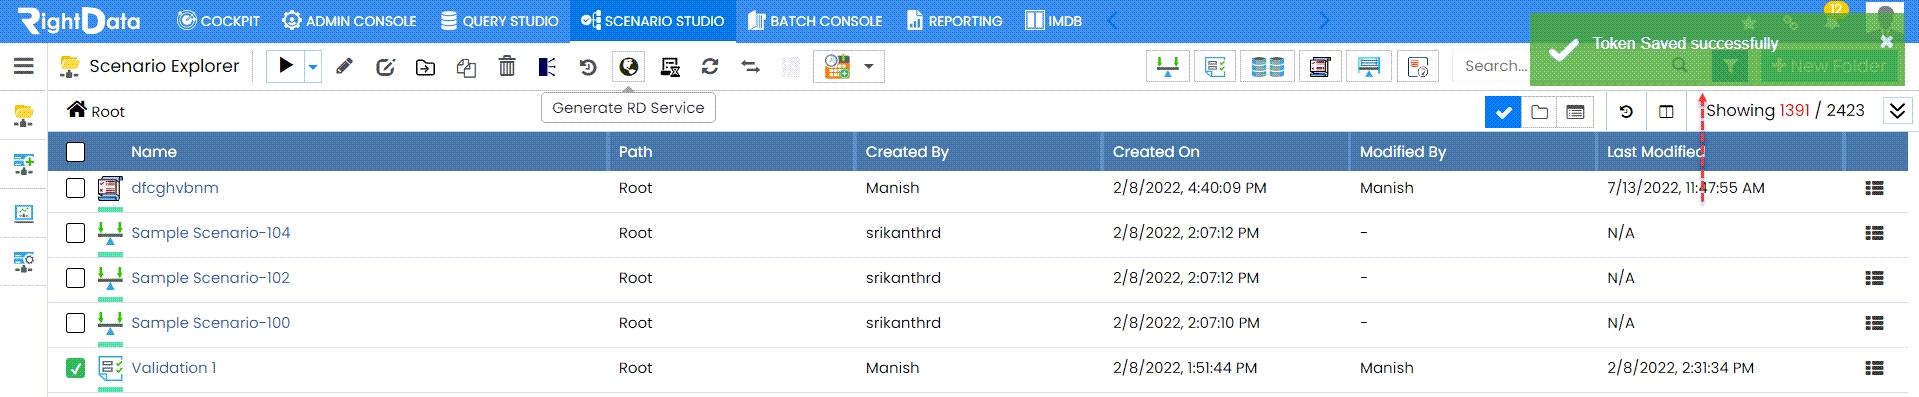
- Now, let’s open a new browser tab.
- Add the copied ‘Rest API’ URL and tap the ‘Enter’ button.
- The above action displays a message “OAuth Authentication is enabled for this api”.
- Navigate back to the ‘Scenario Explorer’ session page.

- Checkbox ‘Validation1’ scenario again and click the ‘Generate RD Service’ button.
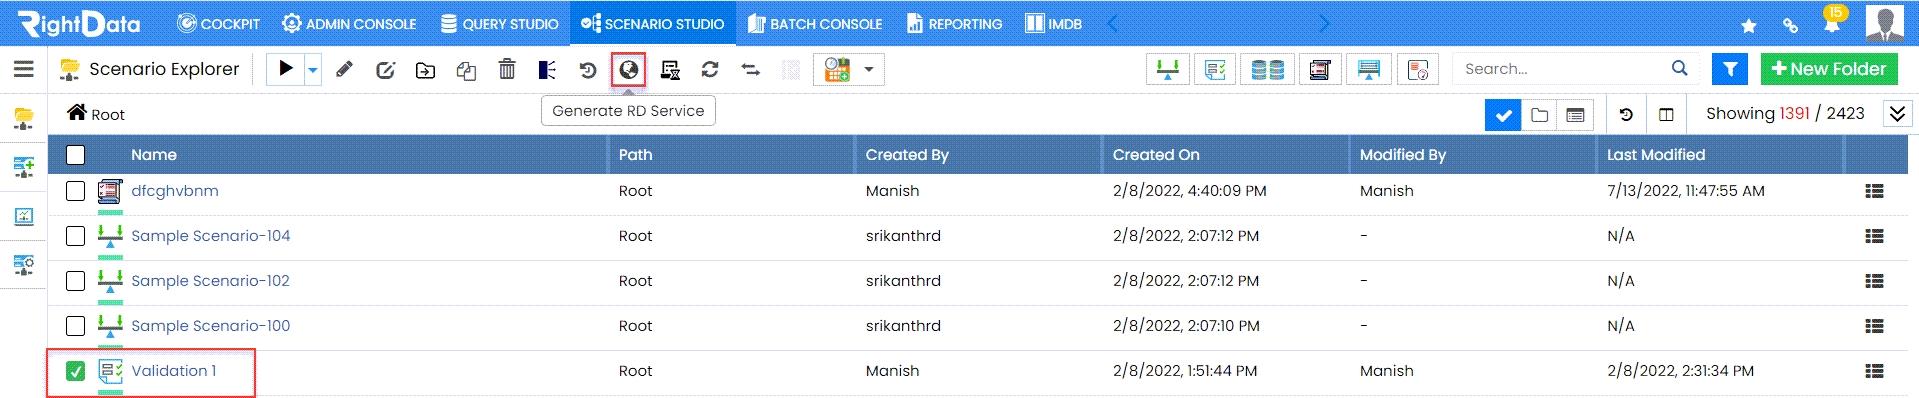
- A ‘Service Generator’ pop-up window is displayed.
- Click the ‘Additional Settings’ tab.
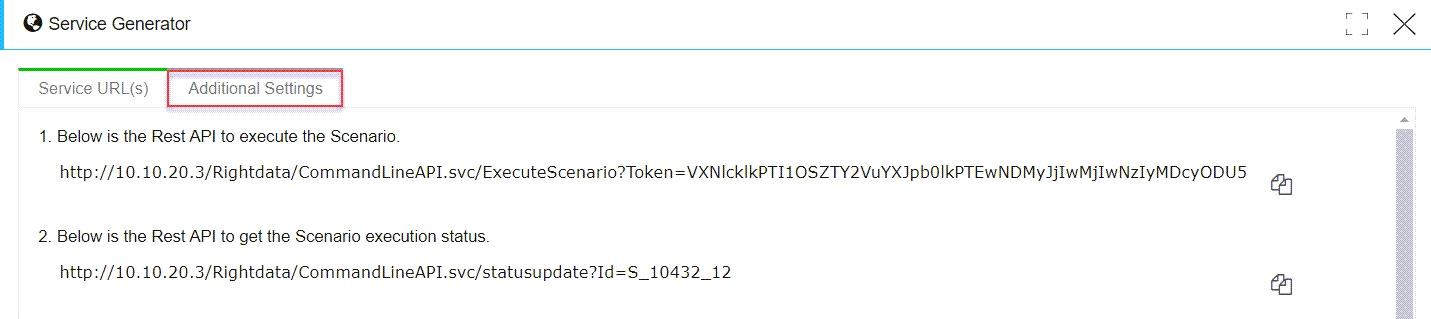
- Click the OAuth Authentication’s ‘Copy to clipboard’ button.
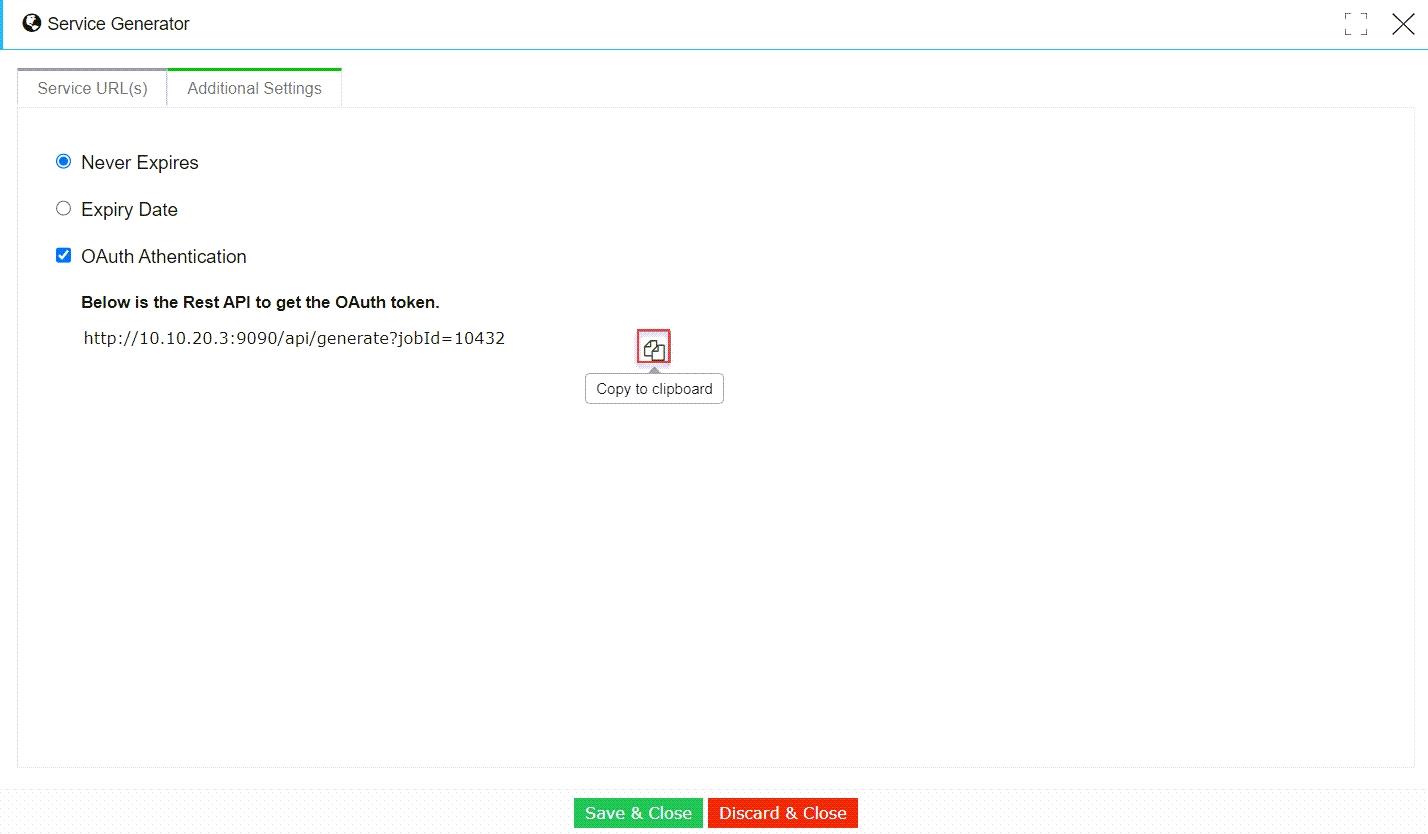
- A toaster message ‘Text copied to clipboard’ is displayed.
- Click the ‘Save & Close’ button.
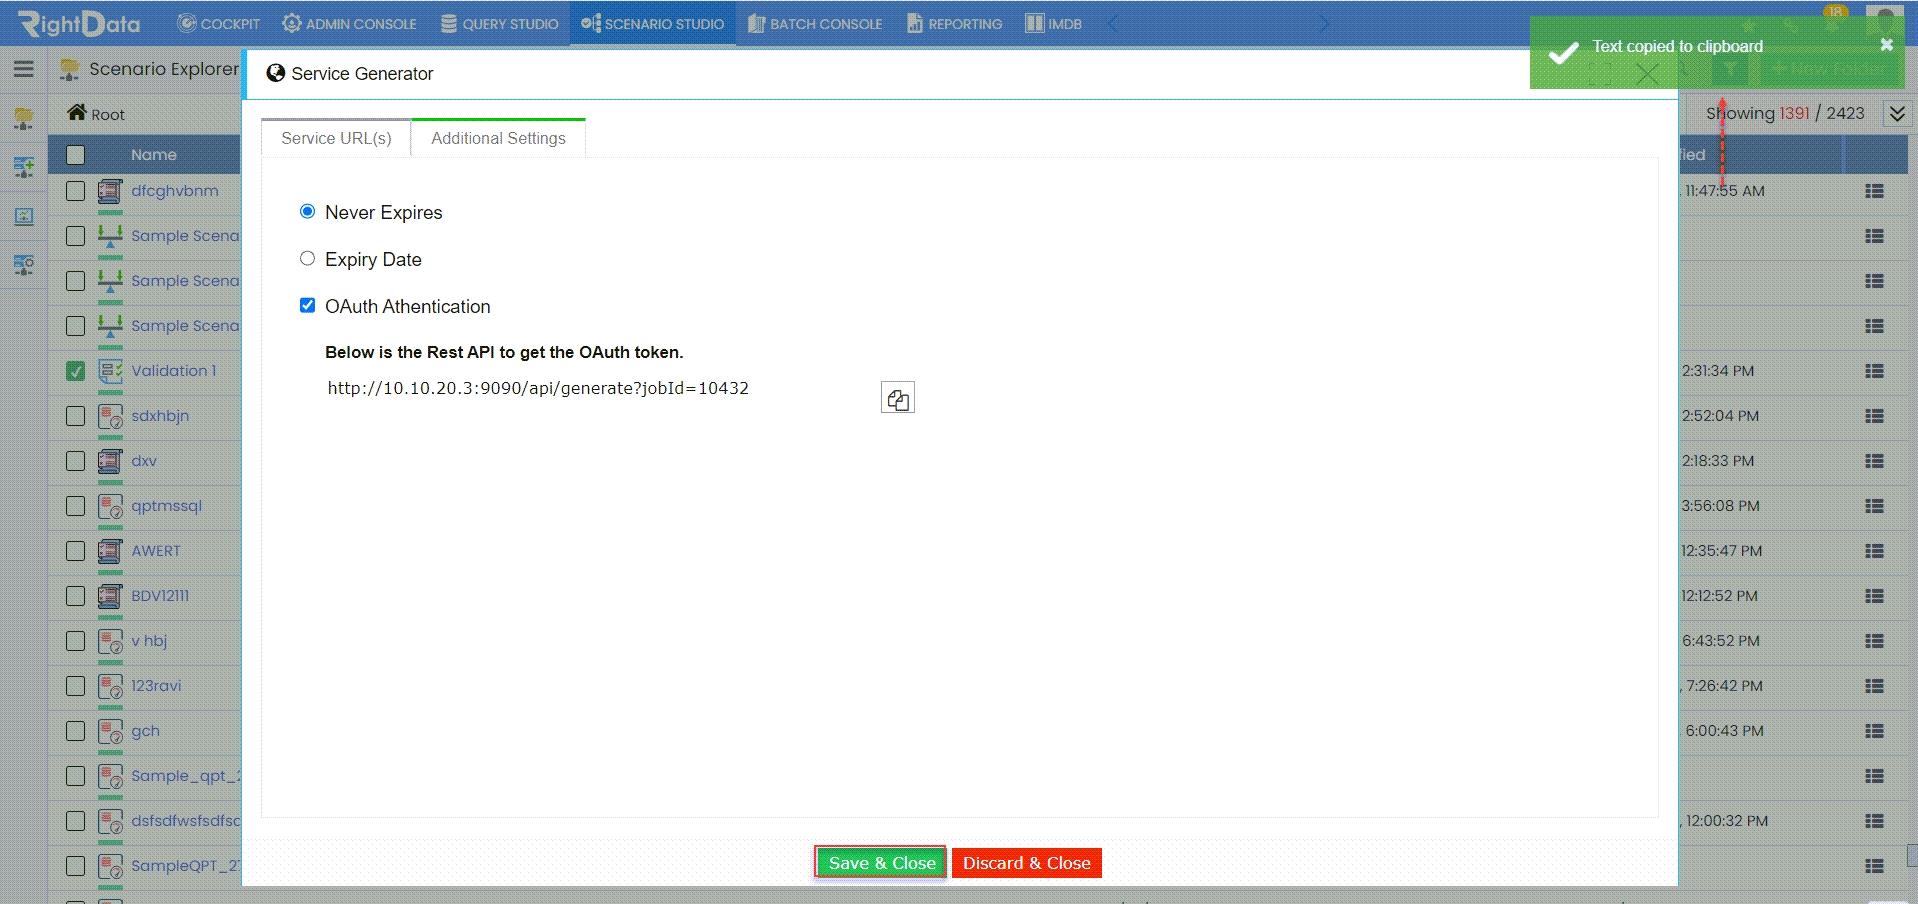
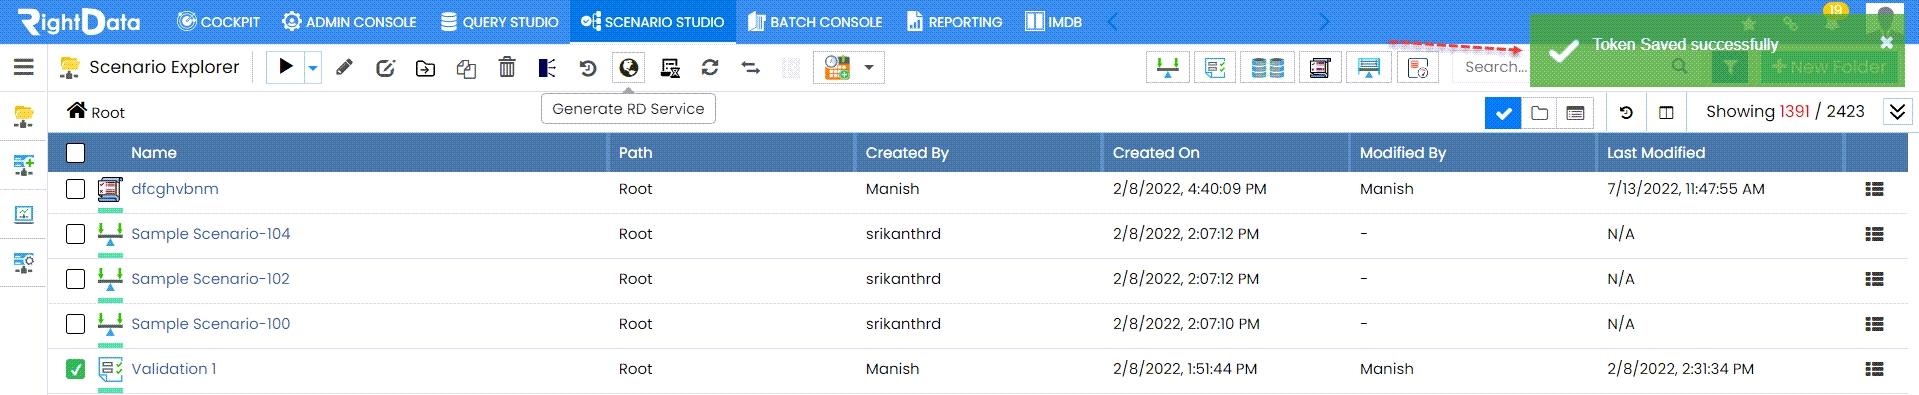
- A toaster message ‘Token Saved successfully’ is displayed.
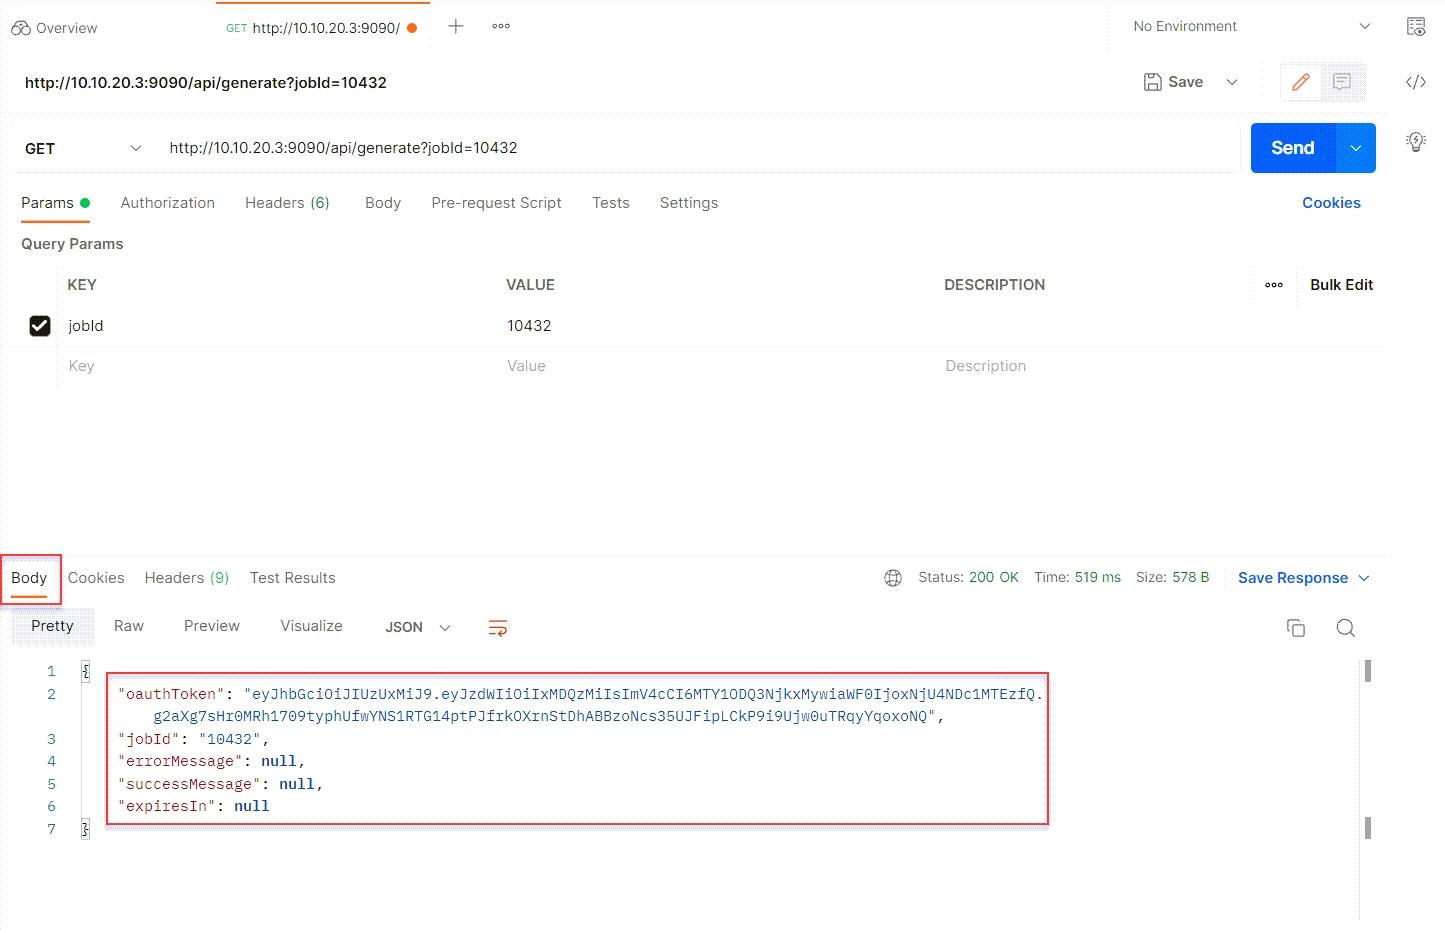
- Now, open the ‘Postman’ application.
- Add the copied ‘OAuth Token’ in the below ‘Postman’ application.
- Select ‘GET’ method from the drop-down selection.
- Click the ‘Send’ button.
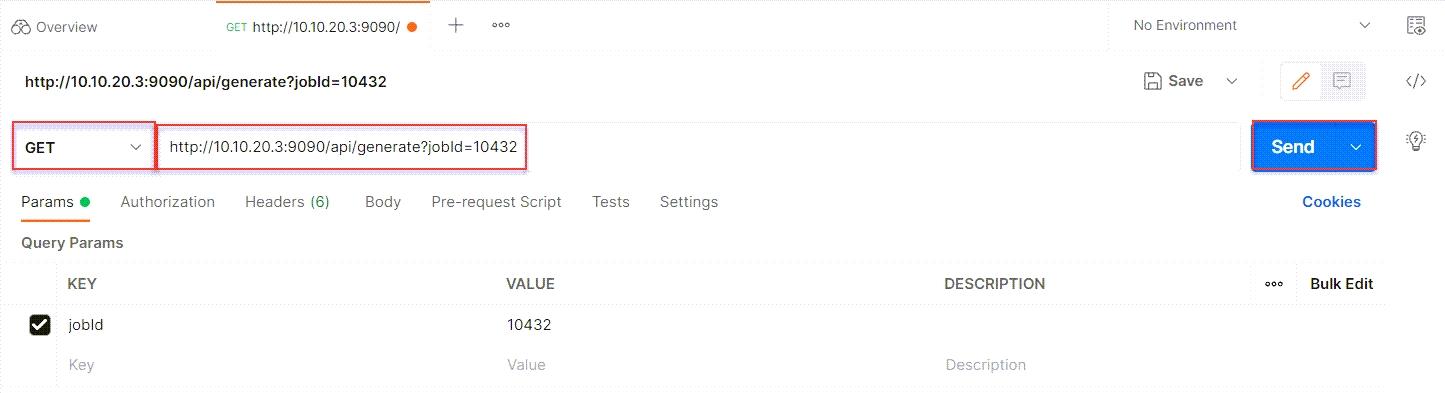
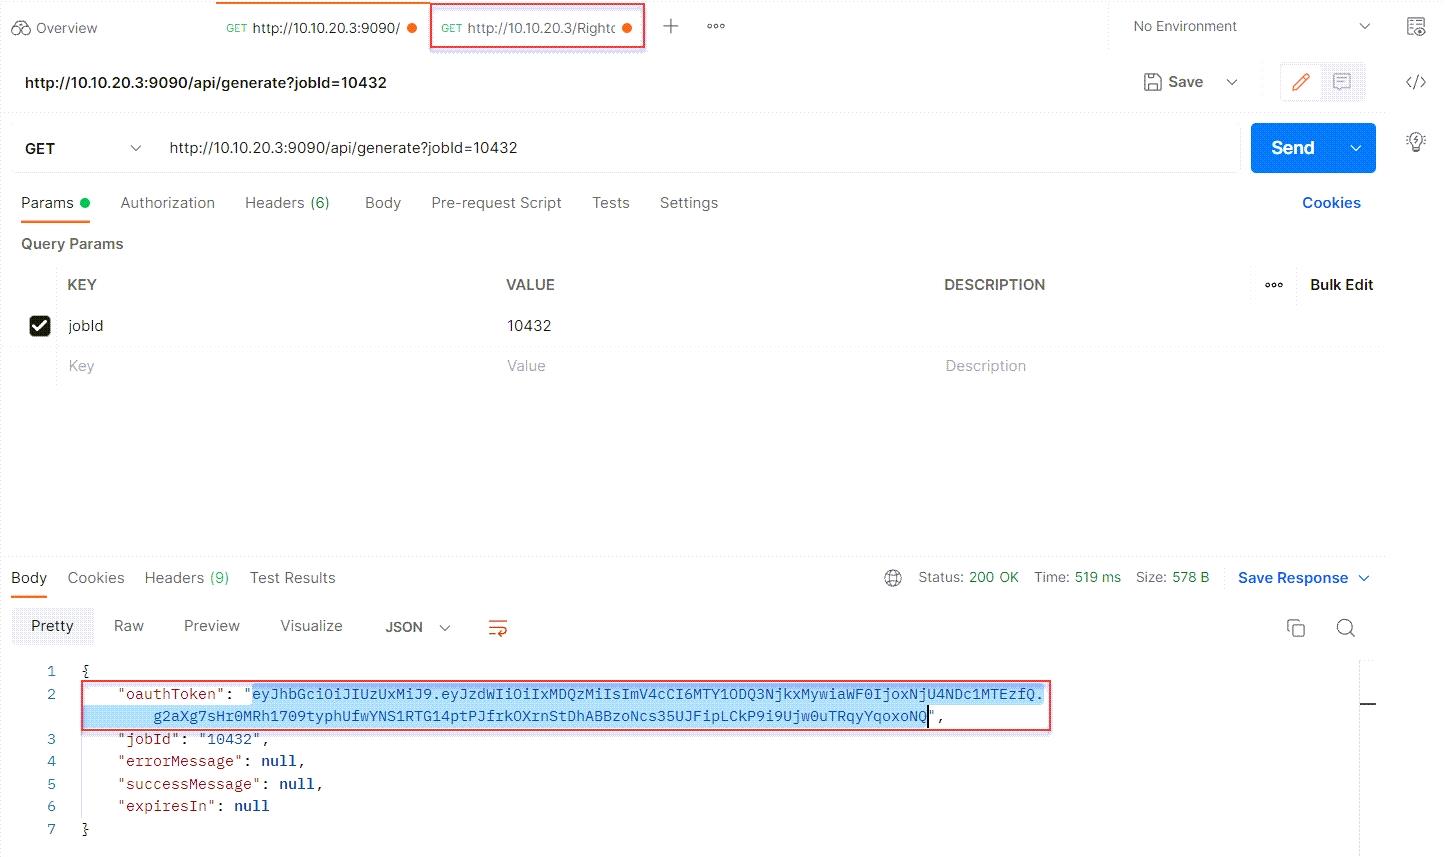
- This action executes the API and an ‘OAuth Token’ (oauthToken) is generated under the ‘Body’ tab.
- Navigate back to the ‘Scenario Explorer’ session page.
- Checkbox ‘Validation1’ scenario again and click the ‘Generate RD Service’ button.
- A ‘Service Generator’ pop-up window is displayed.
- From the ‘Service URL(S)’ tab, click the ‘Rest API’ ‘Copy to clipboard’ button.
- A toaster message ‘Text copied to clipboard’ is displayed.
- Click the ‘Save & Close’ button.
- A toaster message ‘Token Saved successfully’ is displayed.
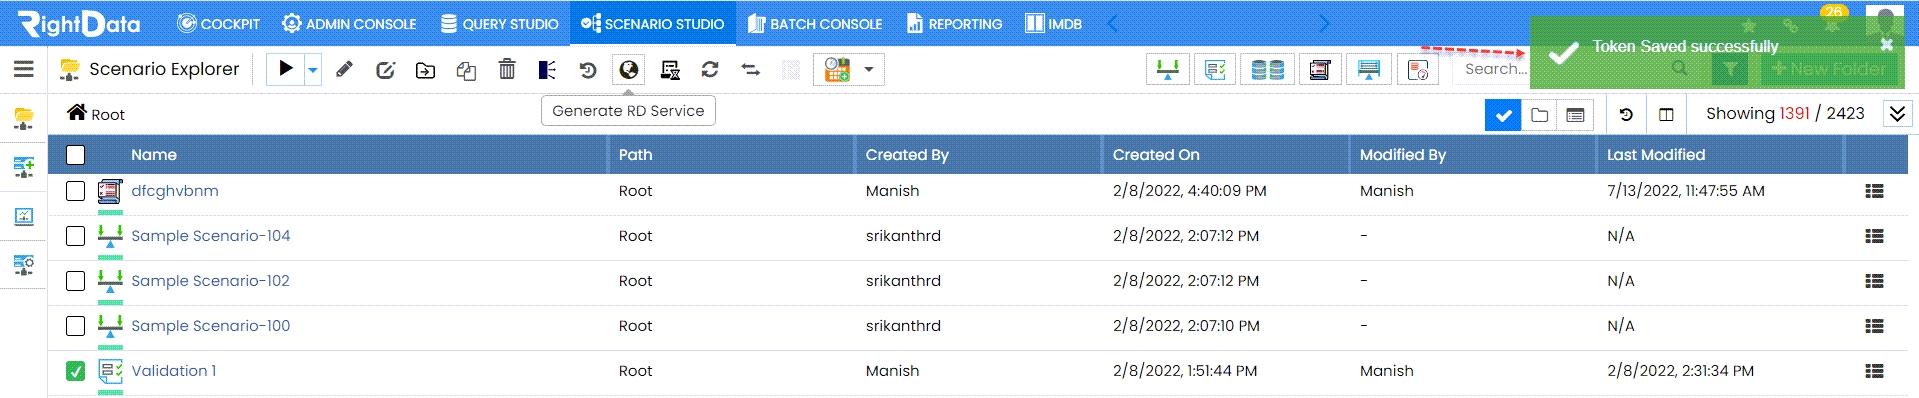
- Open the ‘Postman’ application.
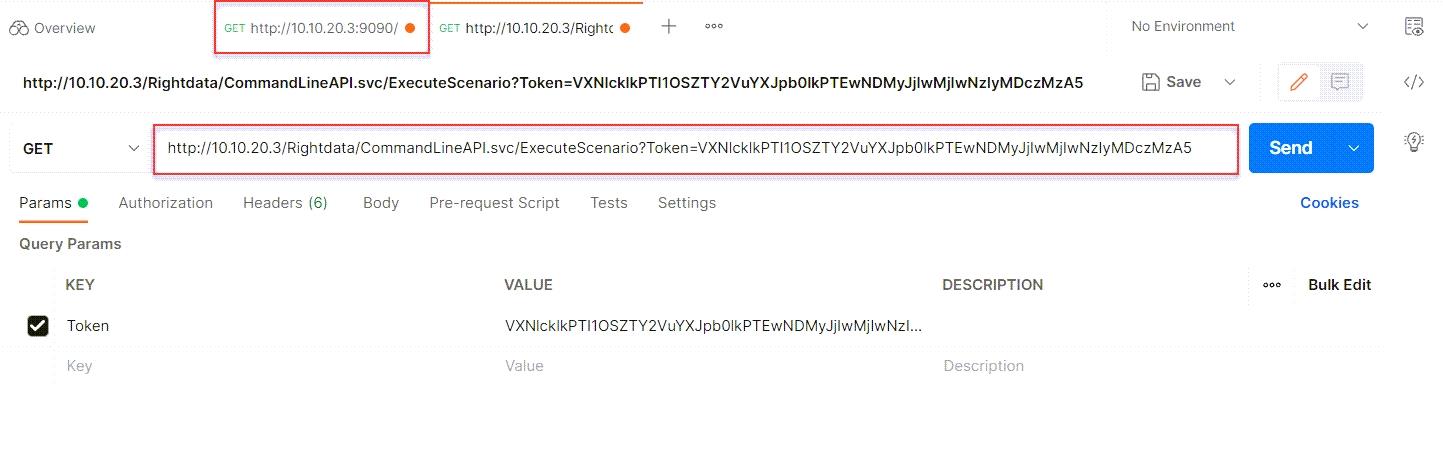
- Paste the copied ‘Rest API’ URL and paste it in a new tab.
- Click the left (first) tab.
- Copy the ‘oauthToken’ text in between the double inverted commas.
- Click the right tab again.
- Click the ‘Authorization’ tab.
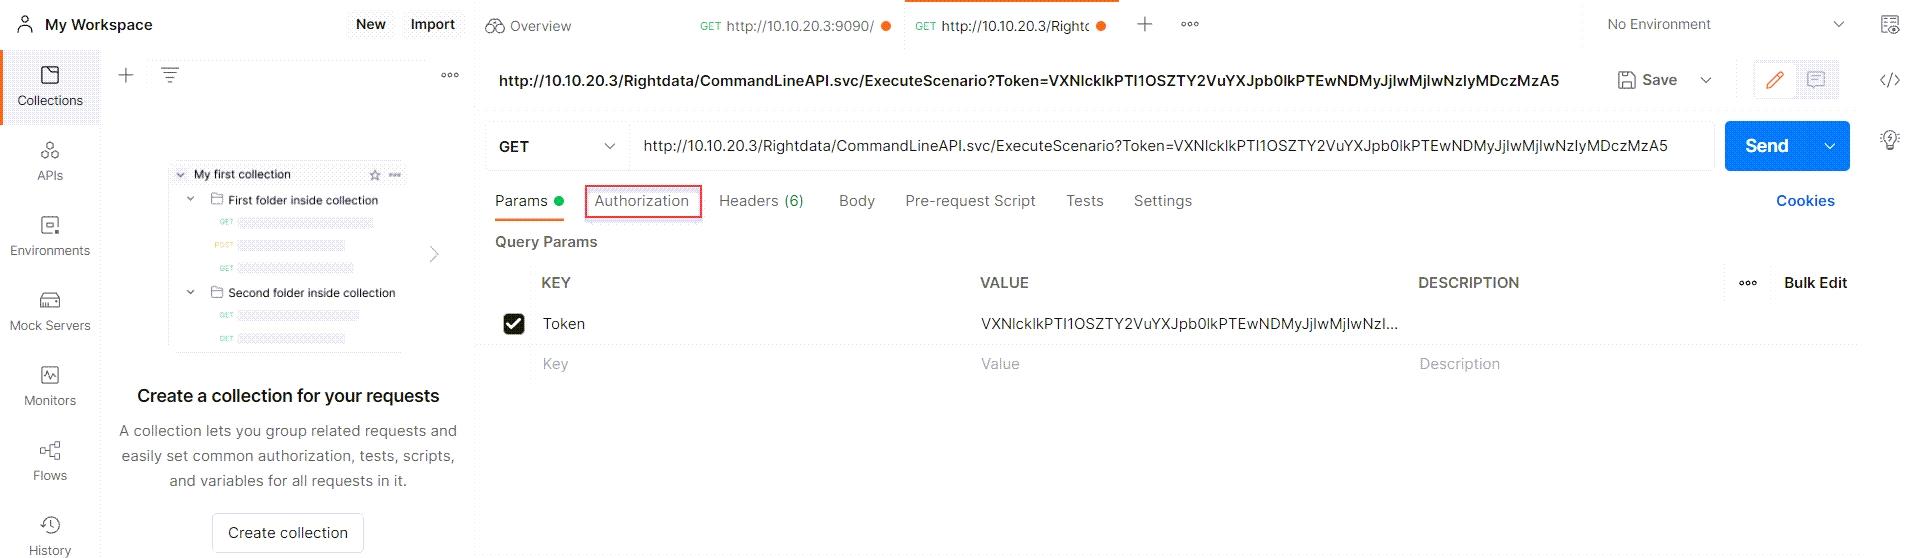
- Select ‘Bearer Token’ from the ‘Type’ drop-down selection.
- Now, paste the copied ‘oauthToken’ text in the ‘Token’ text field.
- Click the ‘Send’ button.
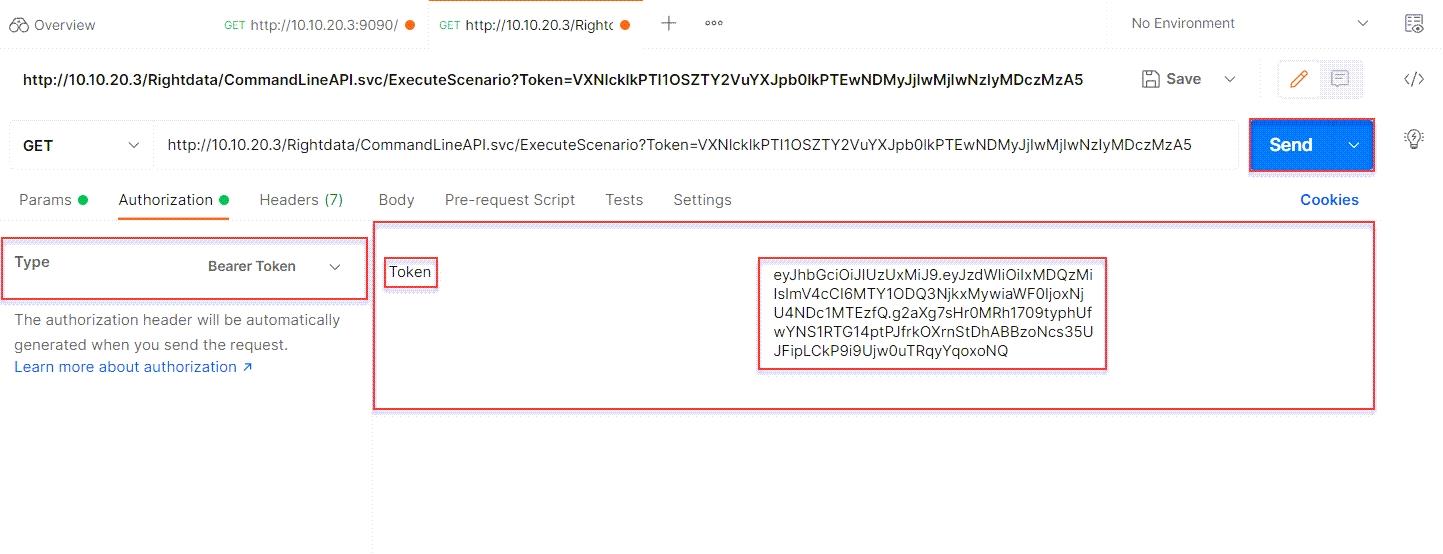
- This executes the ‘Rest API’ and a session is generated under the ‘Body’ tab.
- Click the “Url” from the ‘Body’ tab.
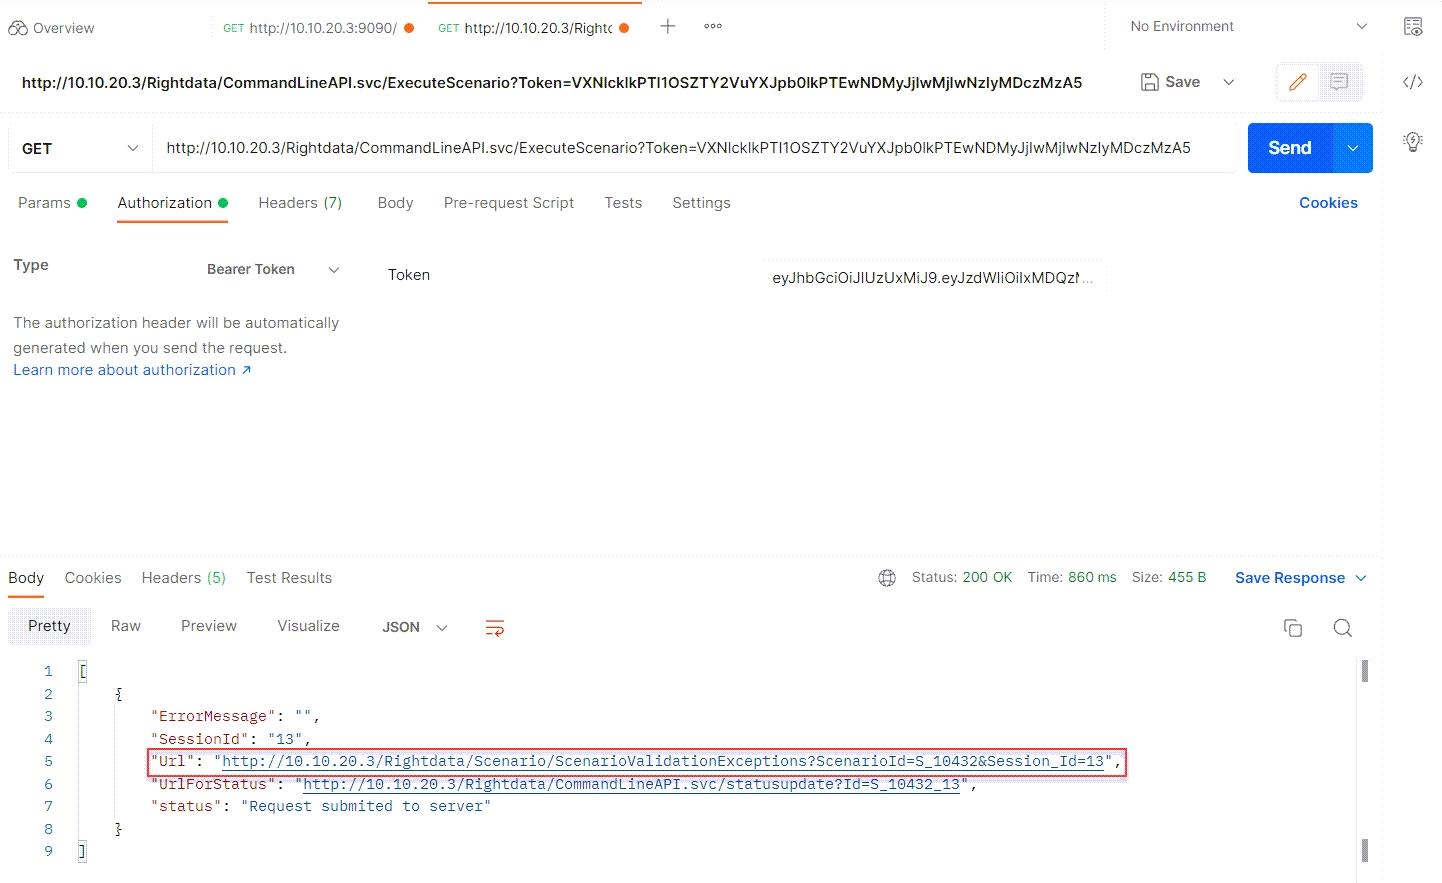
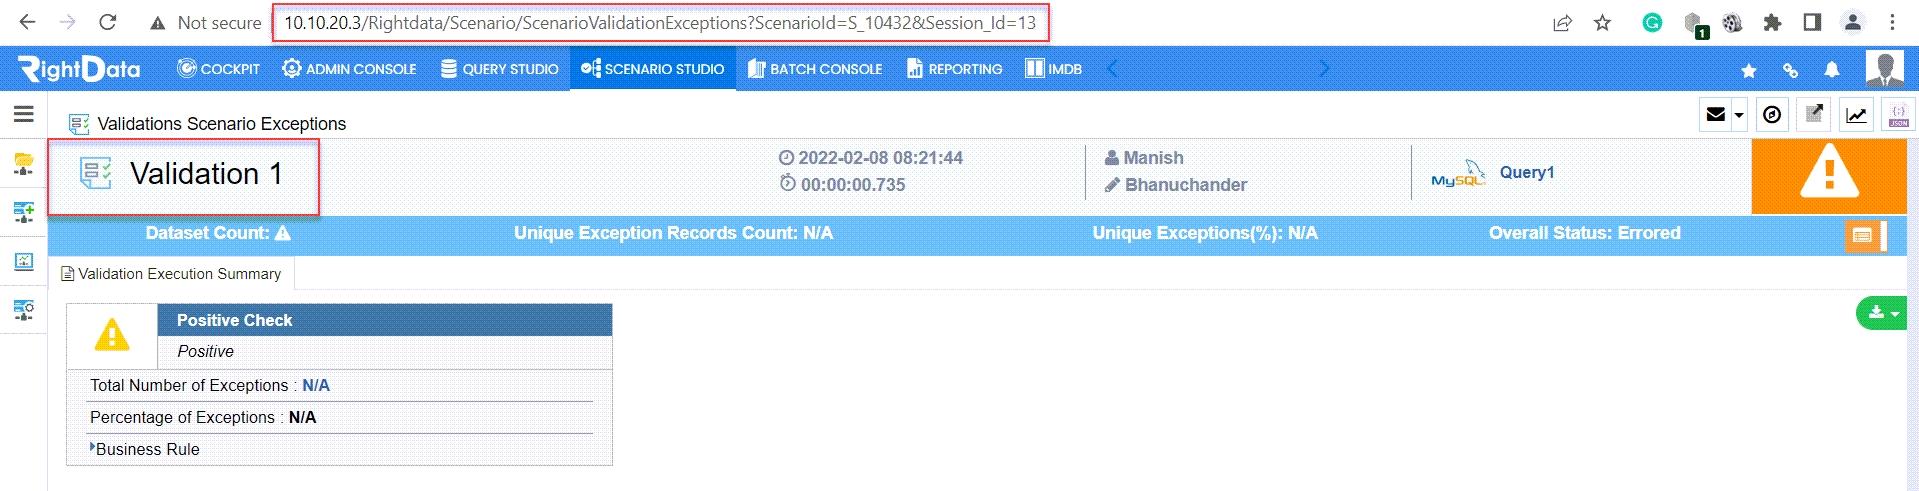
- This action navigates the user to the Validations Scenario Exceptions (Validation 1) session page.