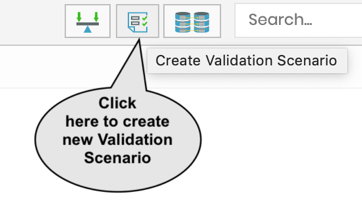
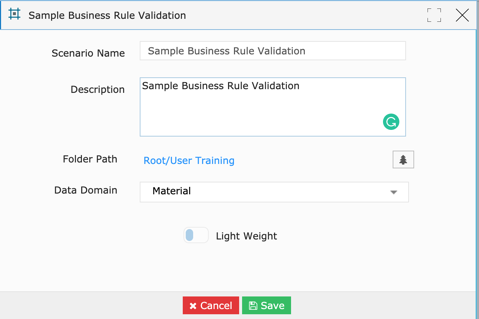
- Let’s create an example to validate the output of a SQL Server custom SQL query for several business rules. Go to Scenario studio, from the toolbar find “Validation Scenario” button and click on it. This will open a new browser tab with Validation scenario designer with a header design element. The header is used to save an FDR scenario with a proper name and description and at an appropriate level (folder structure). Click save and return to the design canvas.
- From the datasources tab of the design palette, drag and drop “Custom SQL” design element to the design canvas. Double click Choose connection profile type (in this example choose MSSQL) and Choose one of the previously created connection profile names. Double click on the custom SQL design element and write the SQL.
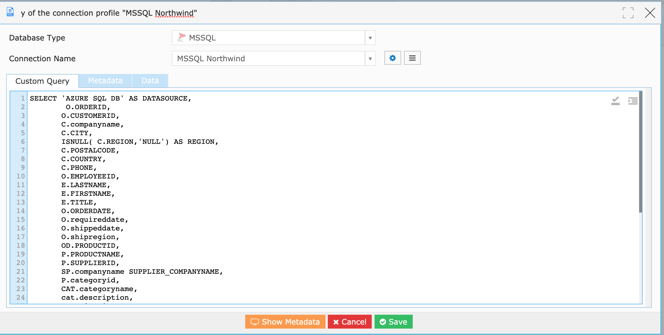
- This will enable the query editor where you can either copy-paste the query you already have or type the SQL query. You can use the navigator to refer to the metadata of objects from the selected database.
- The syntax of the query can be verified and the query can be formatted by click on the syntax check, pretty printer option on the top right corner of the SQL editor.
- Click on show metadata to display the query output structure, optionally you can click on the data tab to see the preview of the query results.
- Click on save to return to the design canvas.

- Switch to “Validation Rules” tab of design canvas and create the following rules.
- Drag and drop “Duplicates” business rule to design canvas, double click on the duplicate check rule.
- Select one or more combinations of fields that should not be duplicated.
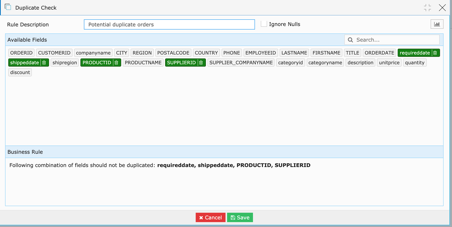
- You will see by selecting the fields, automatically the business rule will be constructed in a readable format. Click on save to return to the design canvas.

- Drag and drop “Reference Data Check” business rule to design canvas, double click on the reference check rule. Select the fields to be verified for referential integrity, provide the list of values to be verified against.
- You will see by selecting the fields, automatically the business rule will be constructed in a readable format. Click on save to return to the design canvas.
- Drag and drop “Presence Check” business rule to design canvas, double click on the presence check rule. Select the fields to be verified for presence check.

- You will see by selecting the fields, automatically the business rule will be constructed in a readable format. Click on save to return to the design canvas.
- Drag and drop “Complex Validation” business rule to design canvas, double click on the complex validation rule. Using the visual rule builder construct the business rule. The scope of the validation is the entire dataset.

- Click on save to return to the design canvas
- Drag and drop “Multi Condition Validation” business rule to design canvas, double click on the Multi-Condition validation rule. Using the visual rule builder construct the business rule. First, define the criteria for the scope of validation in the “When” section of the rule builder, construct the business rule to be validated for the scoped dataset in the “Then” section.
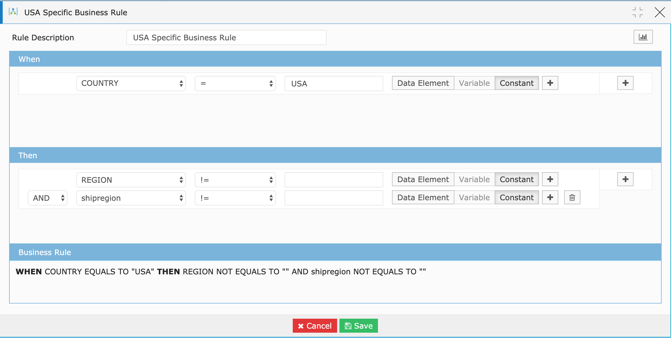
- Click on save to return to the design canvas.
- If the requirement is to send a notification to one or more people via email the scenario execution status à switch to “Additional Options” tab of the design palette à drag and drop “Email” design element to the canvas Double click.
The three options available are:
- Email when found exceptions – This setting will send notifications to list of the email provided when scenario returns exceptions
- Email when success – This setting will send notifications to list of the email provided when scenario competes with no exceptions
- Attach result in the email – This setting will attach the exception result as an excel file in the email.
Click on “Save” to return to the design canvas.

- Now the Business Rule Validation scenario is ready to execute, you will see the execute button enabled on the top menu. The design canvas will switch to monitor mode with dynamic execution progress.
