Please follow the procedure to connect Athena from DataTrust application. The entire procedure is categorized into two steps namely pre-configuration and post configuration.
1. Pre-configuration steps:
- Create a Policy
- Create a Role
- Attach the created Role to EC2 Instance profile
2. Post-configuration steps:
- Create DataTrust profile connection with the following JDBC URL string
1. Preconfiguration steps
Create a Policy
- Login to AWS account.
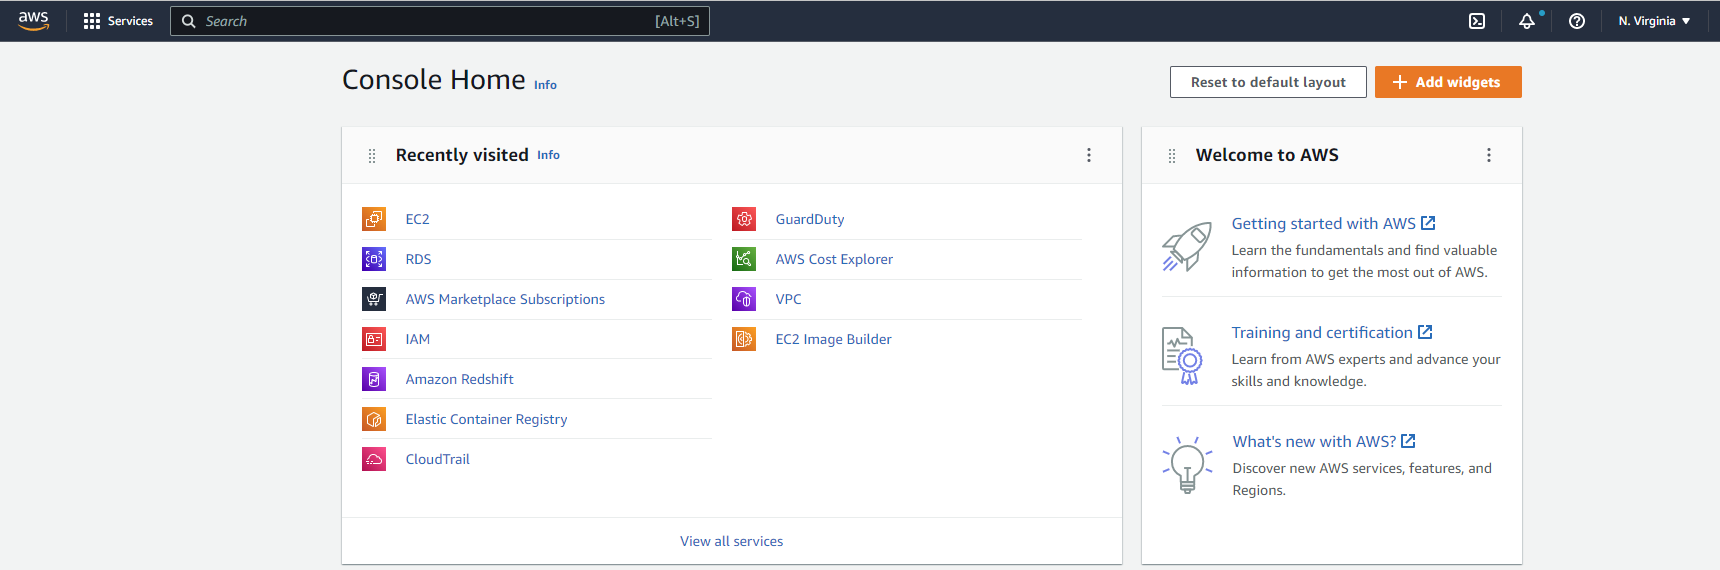
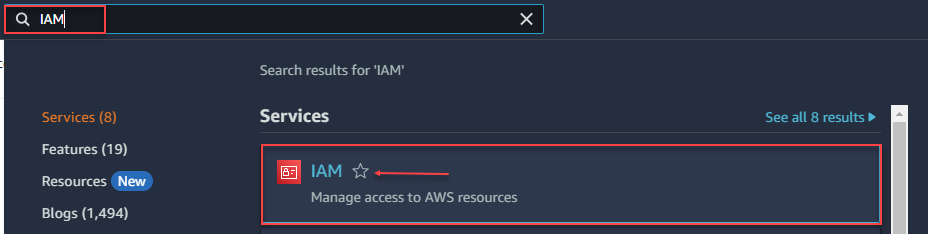
- Search with IAM to populate the services.
- Click on IAM.
- This action navigates to Identify and Access Management (IAM) dashboard.
- Click on Policies.
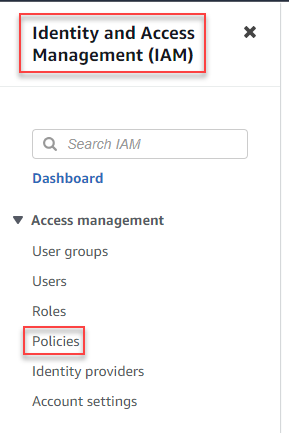
- This action navigates to Policies dashboard.
- Click on Create policy.

- A Create policy page is displayed.
Note: By default, Visual editor tab is selected and displayed.
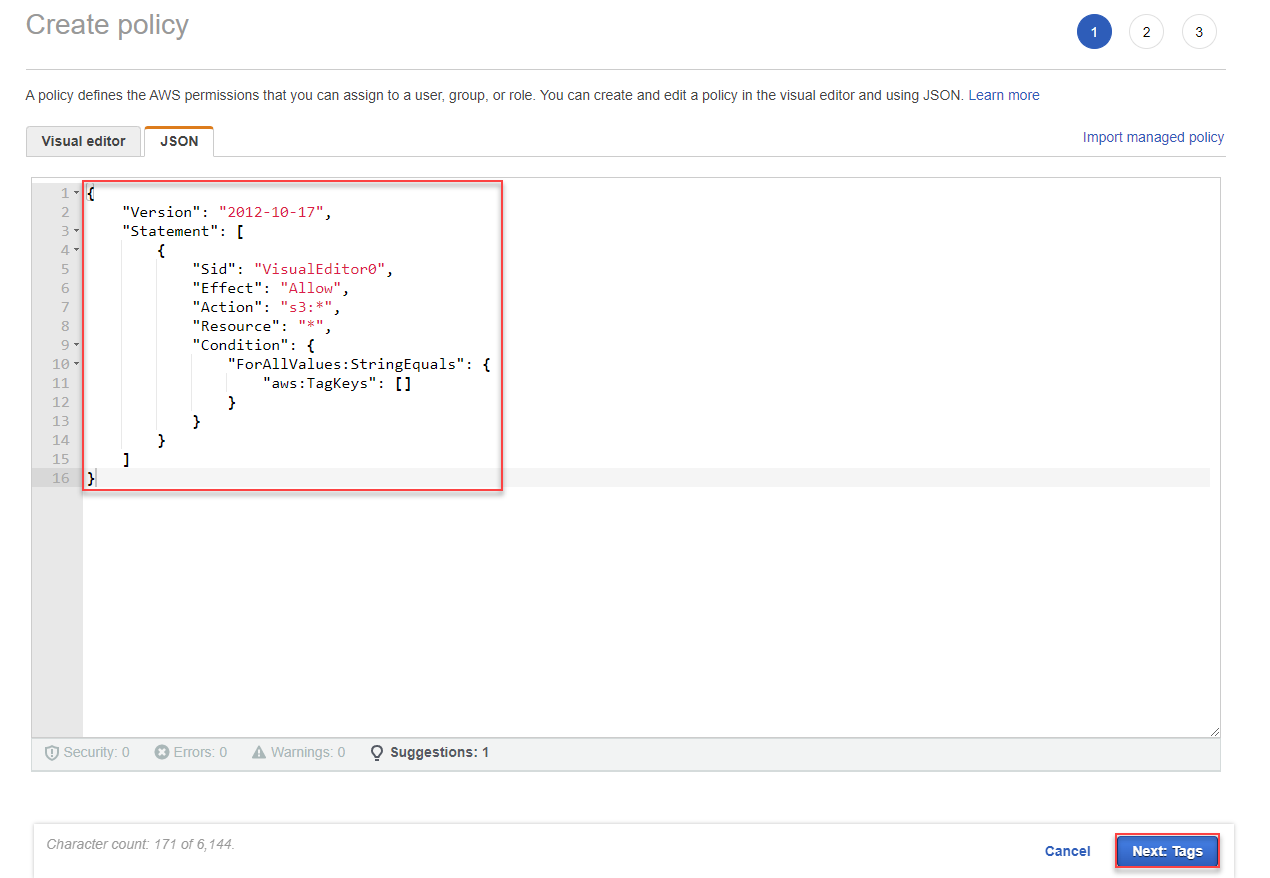
- Click the JSON tab.
- Remove the snippet.
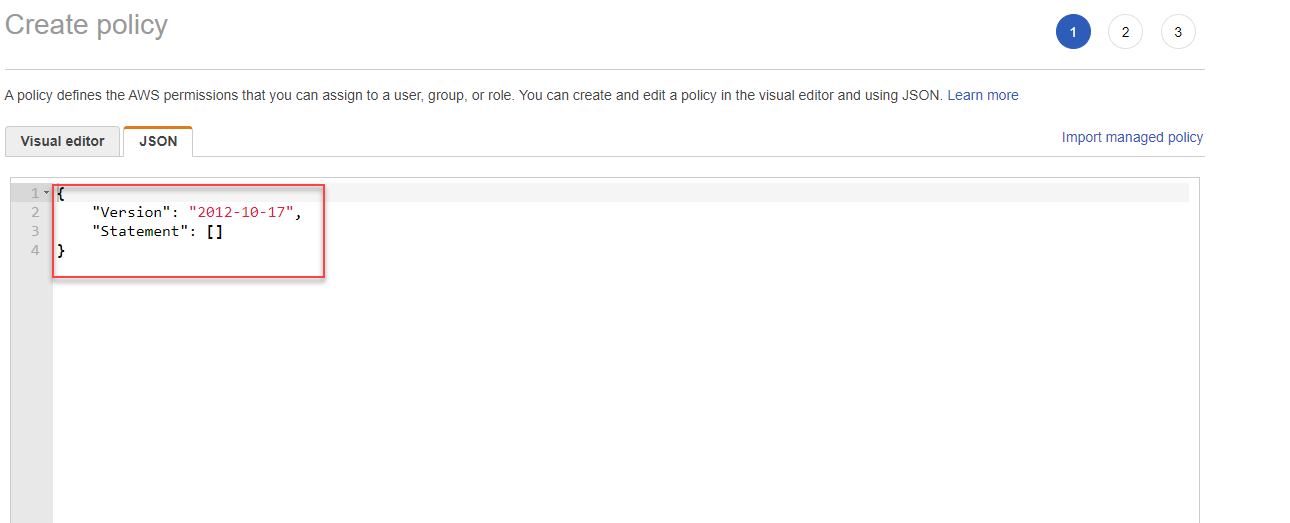
- Add a new snippet as per the requirement and click on Next: Tags.
- This action navigates to Add Tags.
- Key and Value – optional can be added here.
- Click on Next: Review.
Note: In the below screenshot, the value can be Full access or Read-only access.
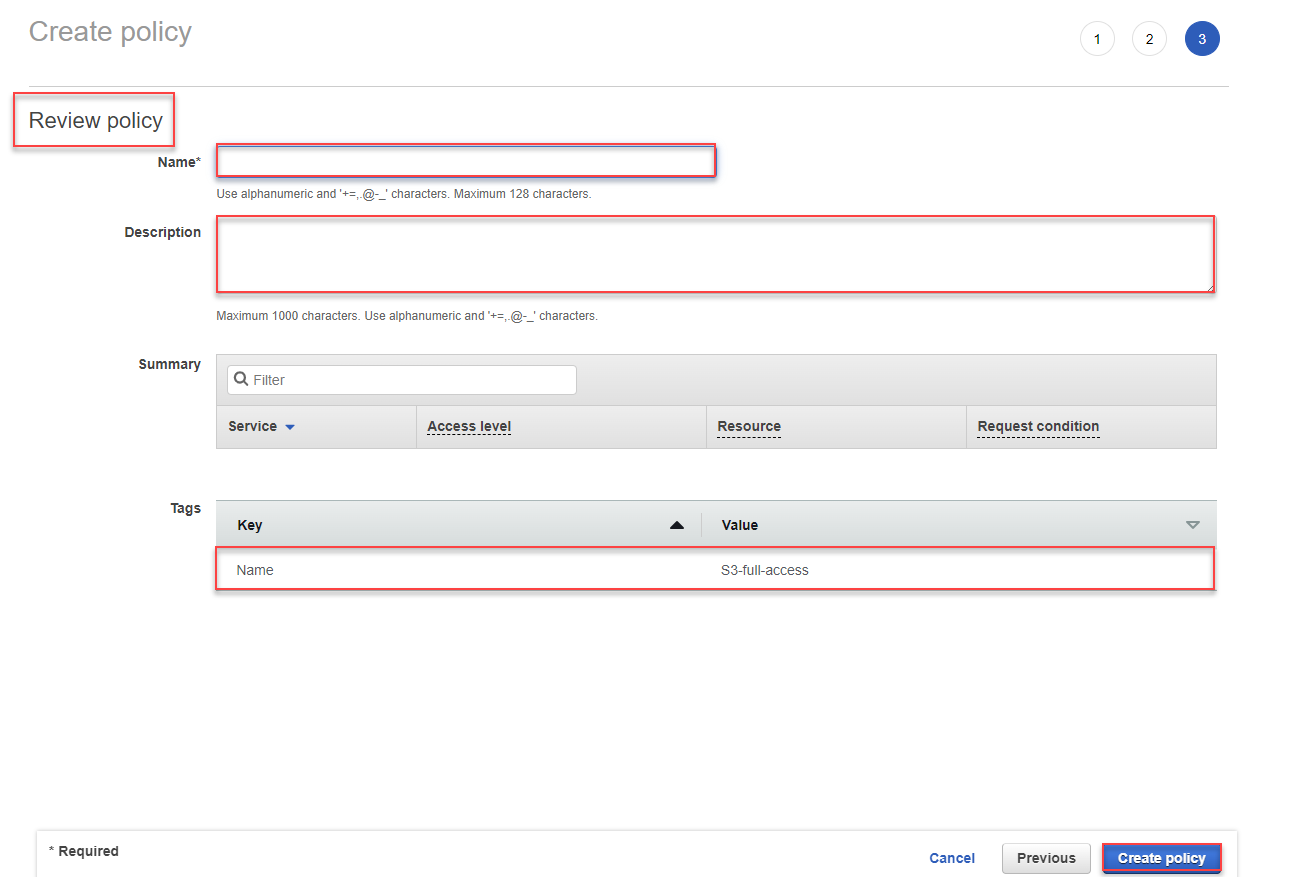
- This action navigates to Review policy page.
- Add the required Name, description, Summary and click on Create policy.
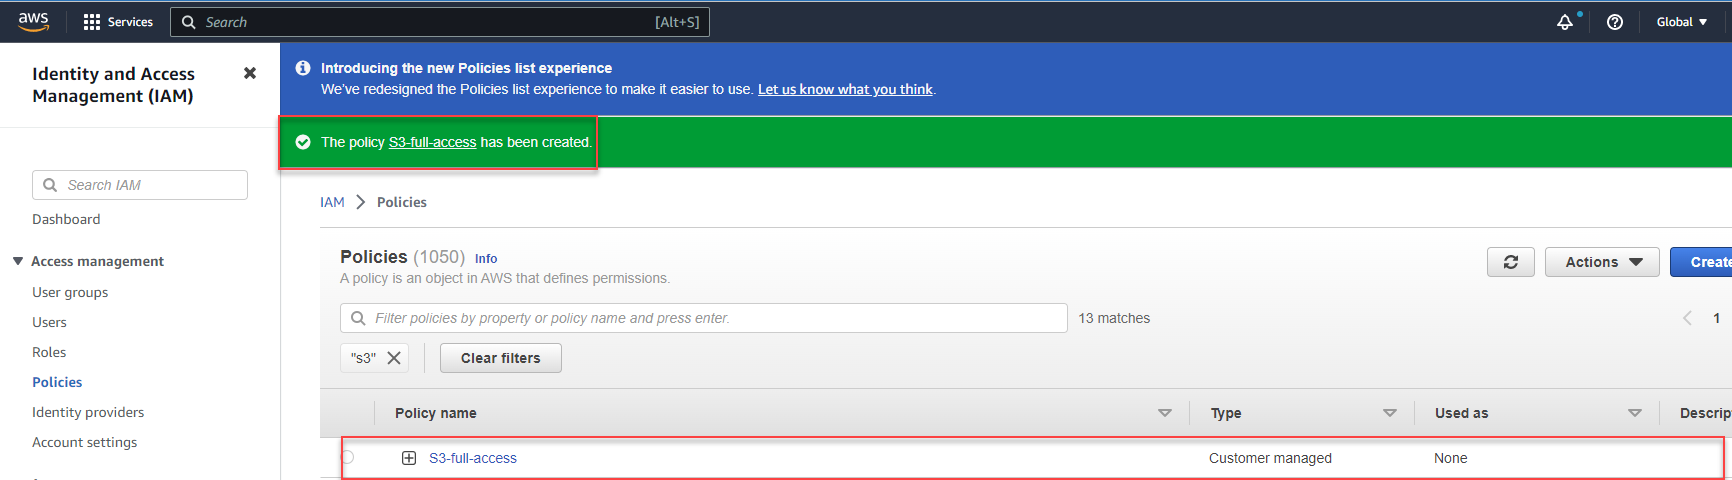
- A toaster message "The policy S3-full-access has been created" is displayed.
Create a Role
- Click on Roles.
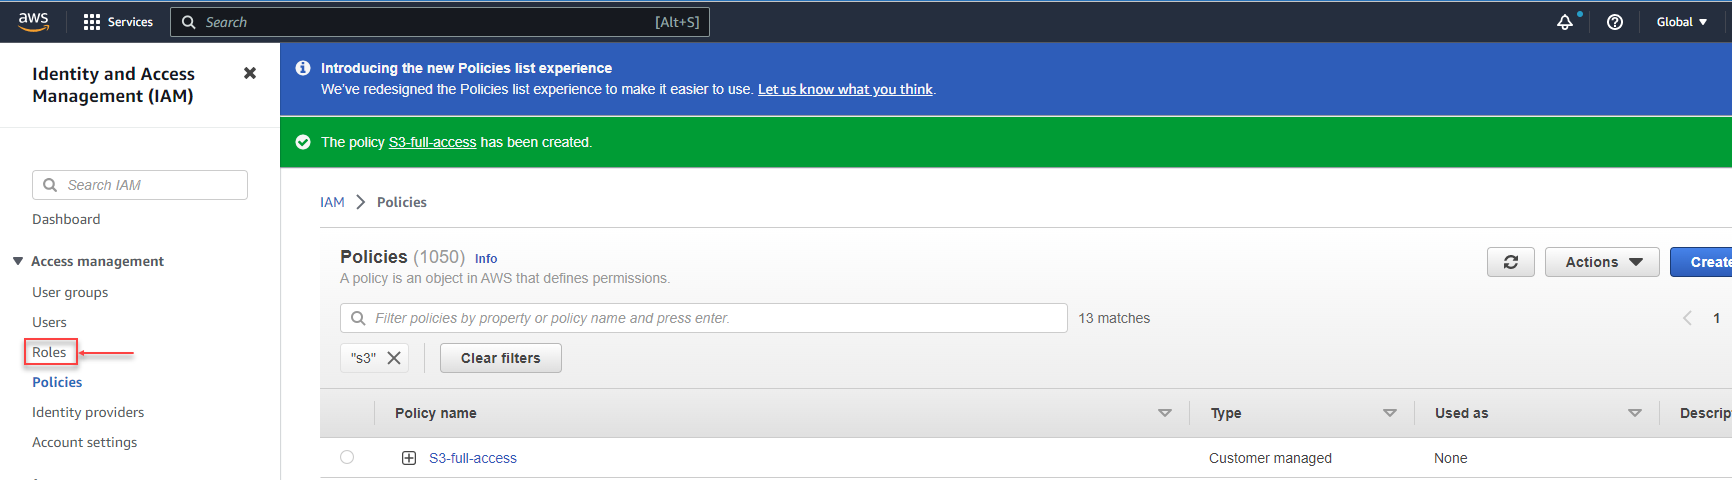
- A Roles dashboard is displayed.
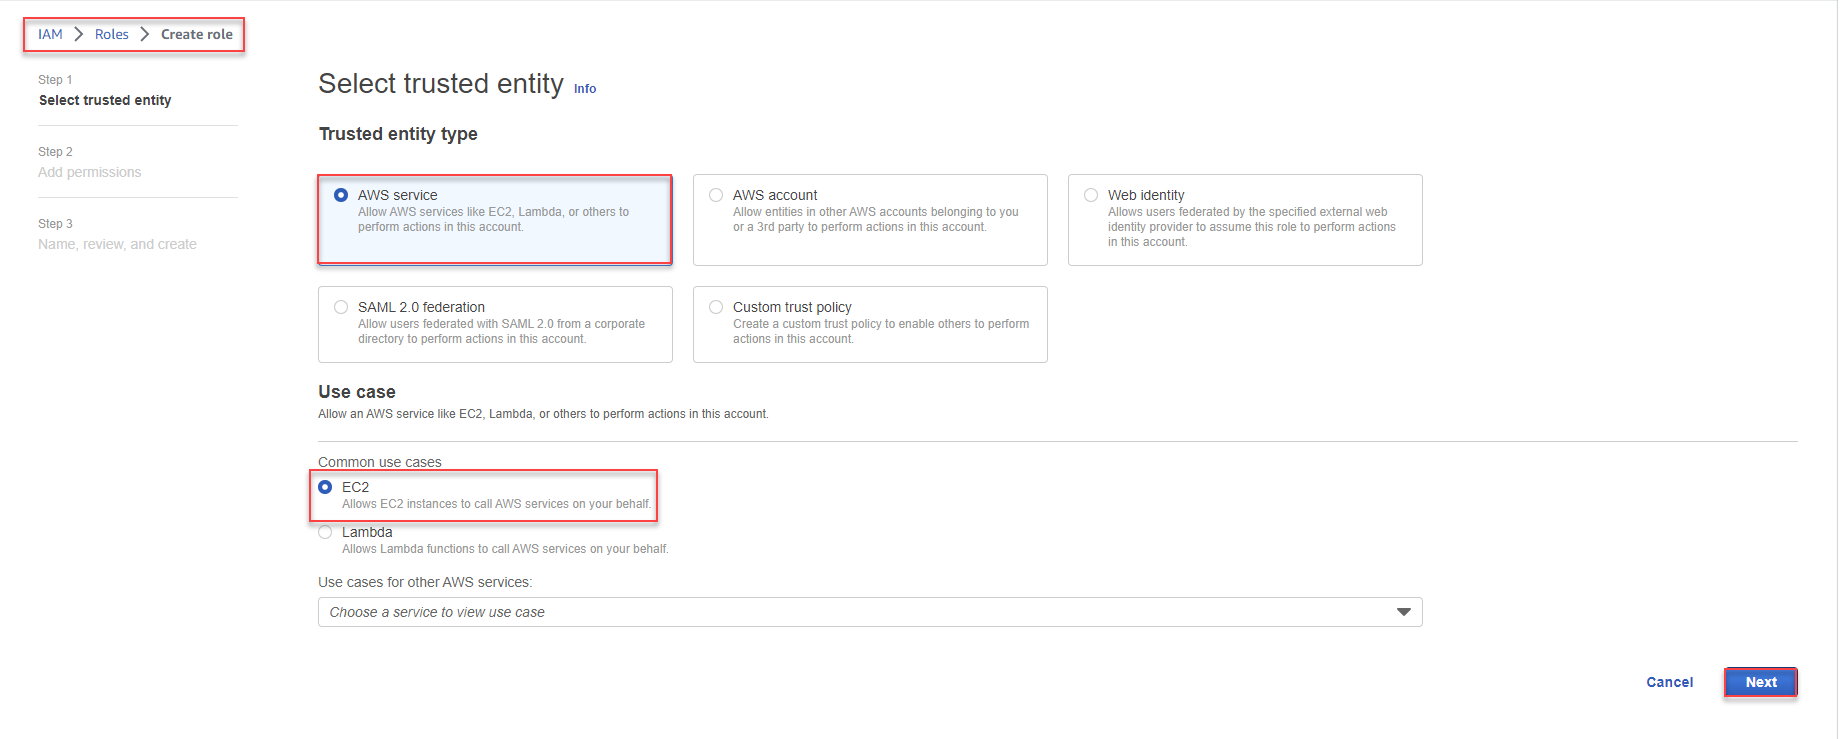
- Click on Create role.

- A Create role dashboard is displayed.
- By default, AWS service is selected.
- Select the EC2 option and later click on Next.
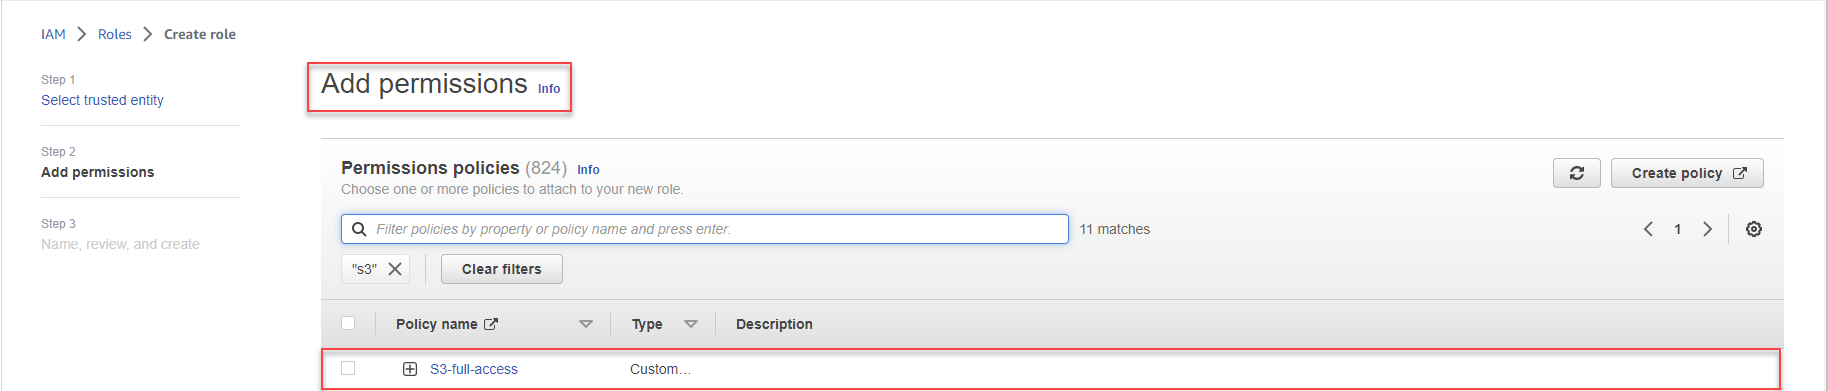
- An Add permissions dashboard is displayed.
- Search with S3 to populate S3-full-access policy.
- Select S3-full-access.
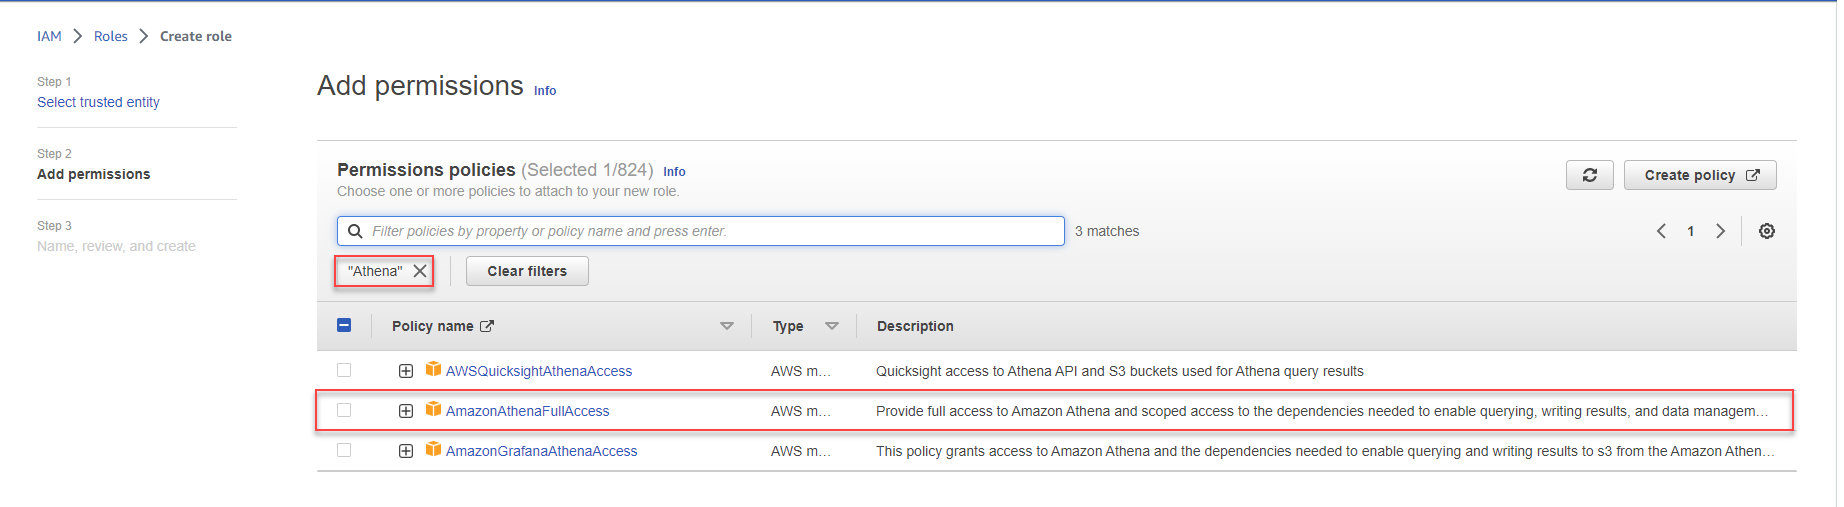
- Now, search using Athena and checkbox the 2nd option AmazonAthenaFullAccess.
- In the 3rd step, add the Role name and click on Create role.
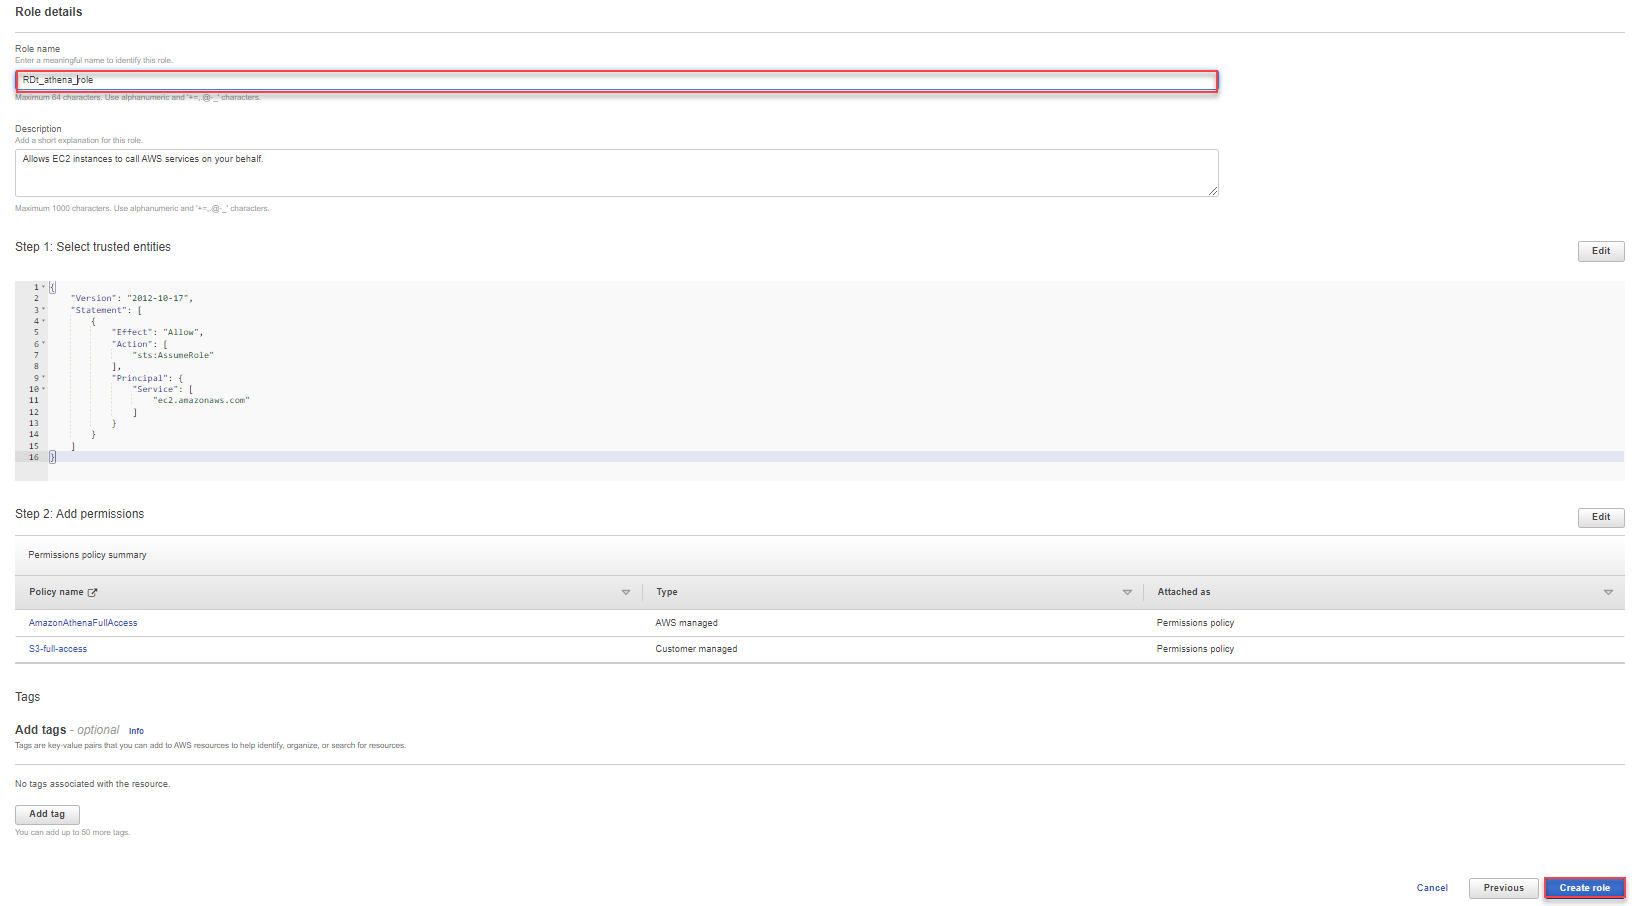
- A toaster message "Role RDt_Athena_role created." is displayed.

Attach the created Role to EC2 Instance profile
- Now, from the AWS dashboard, search using EC2 to populate the results.
- Click on EC2.
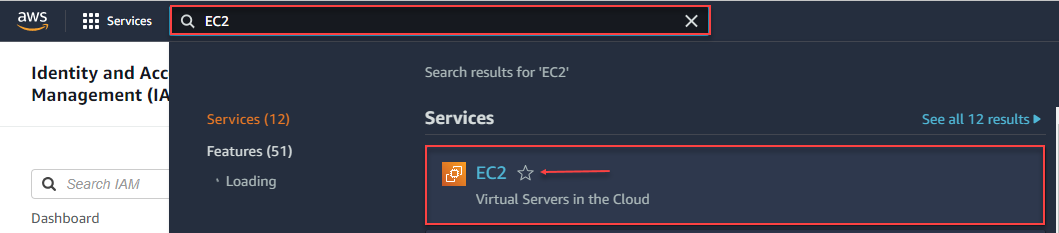
- An EC2 Dashboard is displayed.
- Click on Instances.
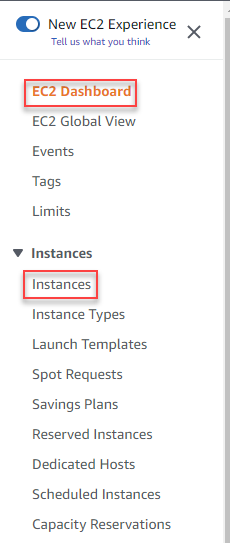
- An Instances (1/9) Info dashboard is displayed.
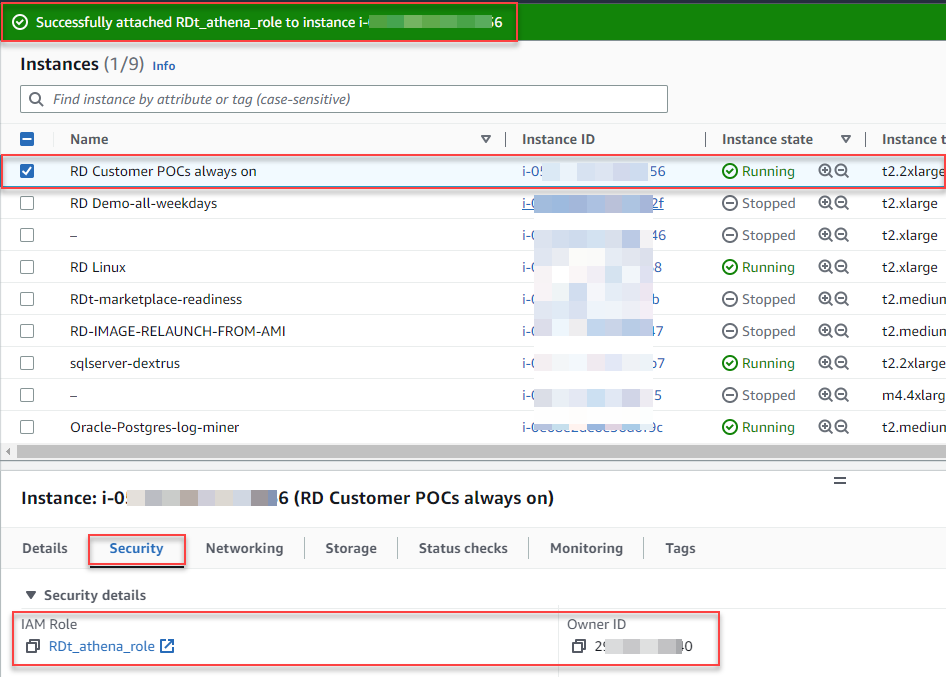
- Checkbox RD Customer POCs always on instance name. Click the Actions drop-down and select Modify IAM role from the Security.

- Modify IAM role dashboard is displayed.
- Select the required role from the Choose IAM role dropdown list. Here, as an example, we selected RDt_athena_role.
- Click on Update IAM role.
- A toaster message "Successfully attached RDt_athena_role to instance i-xxxxxx6" is displayed.
- From the Security tab, the Security details such as IAM Role and Owner ID details are displayed.
2. Post-configuration steps:
Create DataTrust profile connection with the following JDBC URL string
- Login to the application using the provided credentials.
- Click the ADMIN CONSOLE module to navigate to profiles session.
- Click on the + Profile button.

- A Profiles > Create Profile page is displayed.

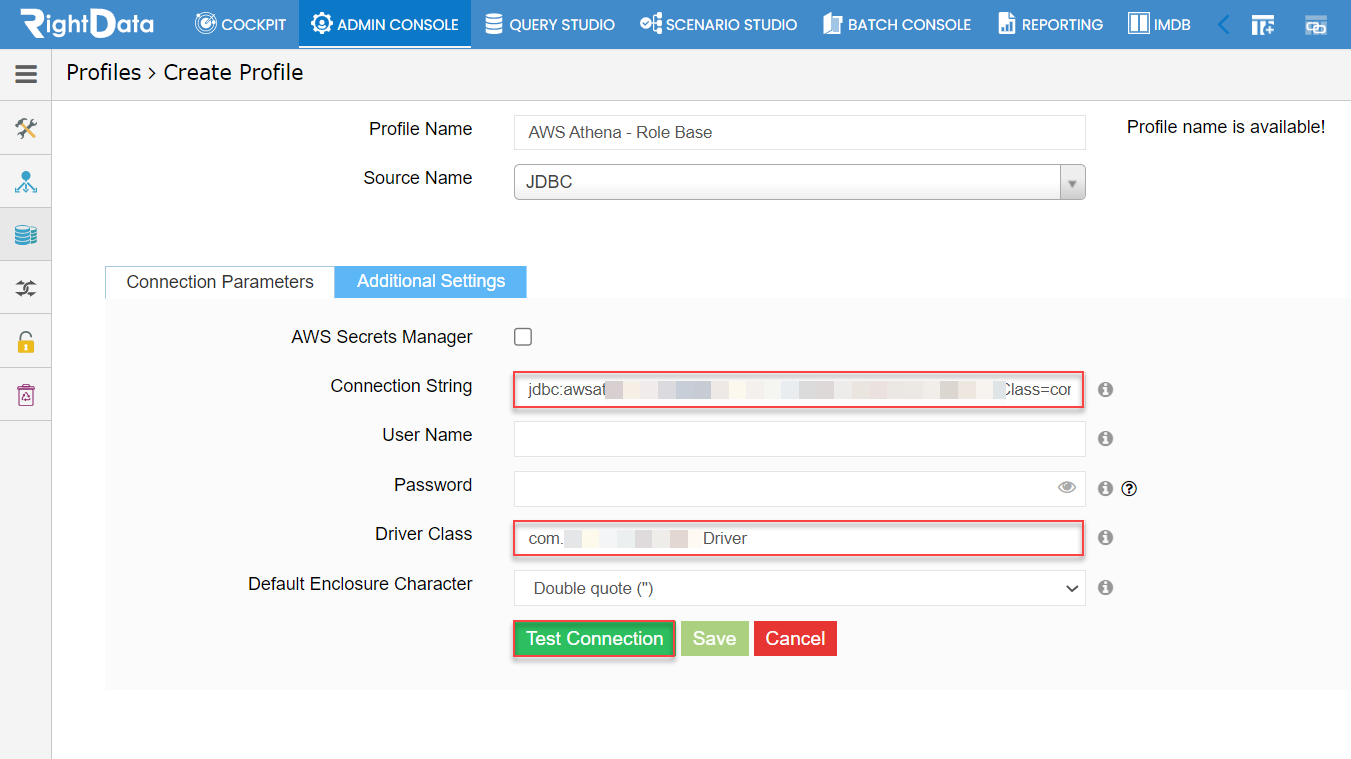
- Provide the Profile Name as AWS Athena – Role Base and select JDBC from the Source Name drop-down list.
- A Connection Parameters tab is selected and displayed.
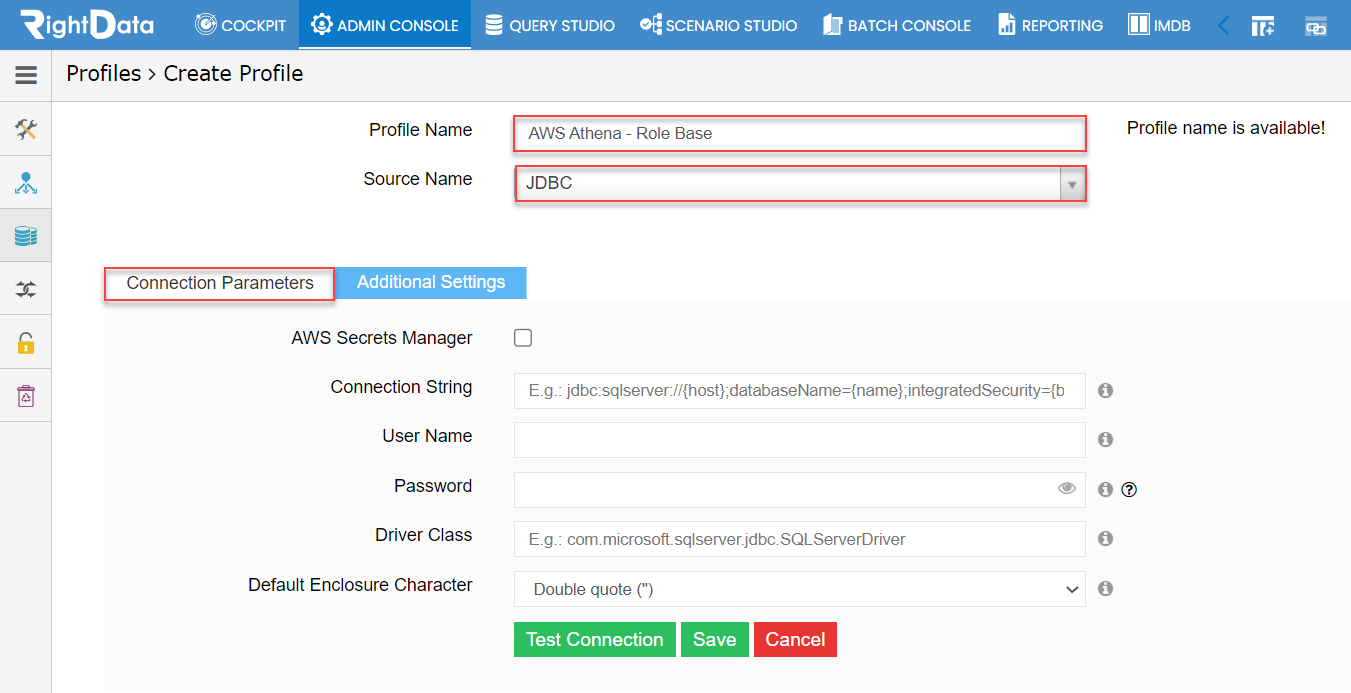
- Provide the Connection String and Driver Class details.
- Click the Test Connection button.
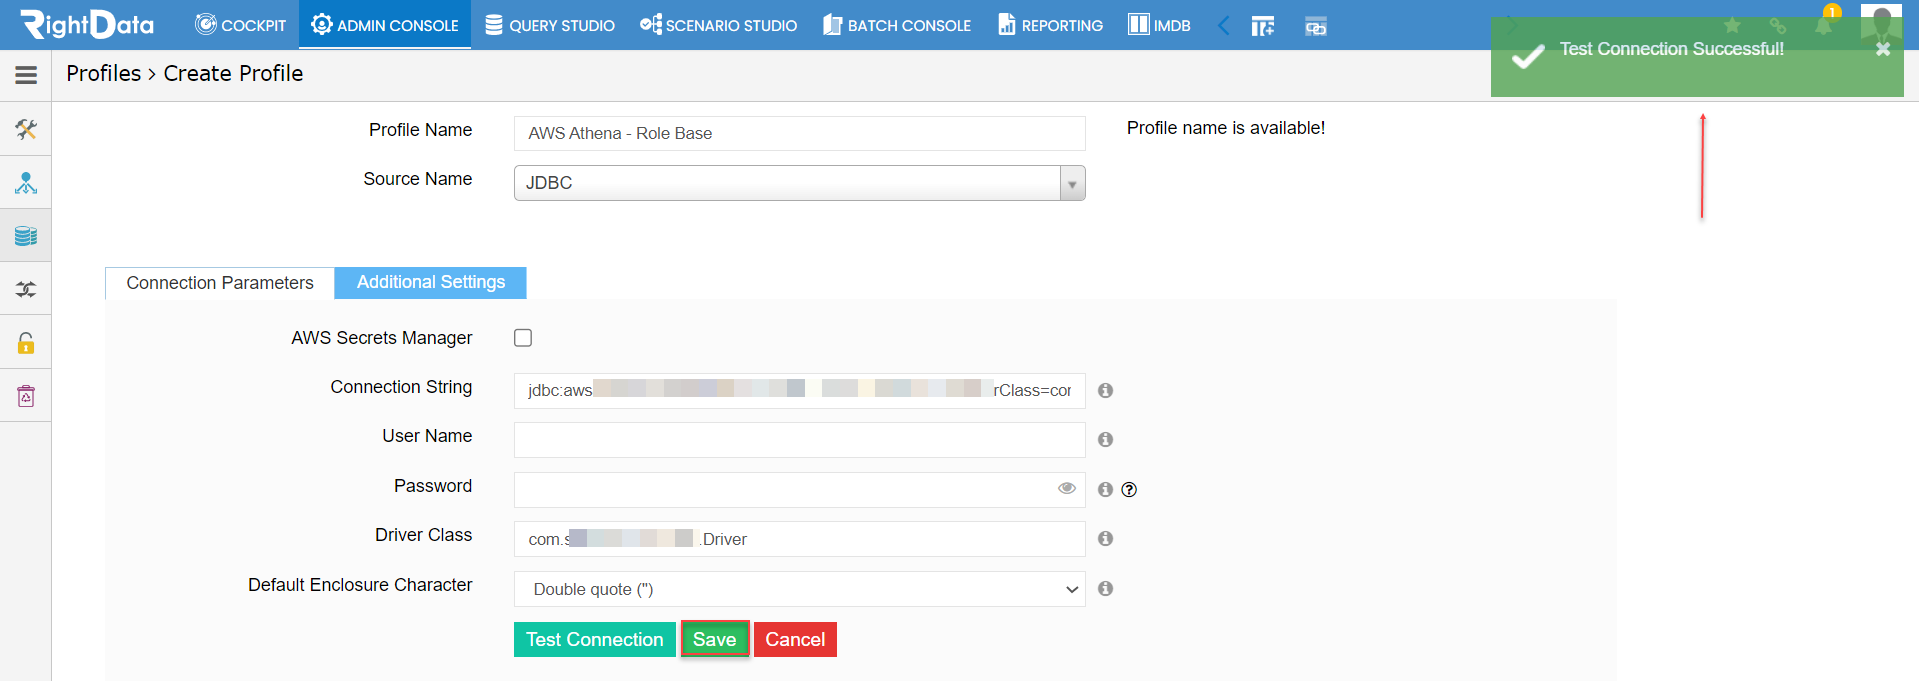
- A "Test Connection Successful!" toaster message is displayed.
- Later, click on Save button to save this profile connection.
<![if !s
<![if !
<![if !s